

You must have some basic knowledge using gimp to fully understand and follow this tutorial.
For this tutorial all I use is a basic large round brush, free select tool, color select tool, guassian blur, Eraser, and pen tool.
I have lowered my game settings to create this tutorial.
I recommend maxing out your Sim Detail and Visual Effects when creating competition photographs.
Before starting this tutorial I suggest you cut your sim out of your background or if you don't plan on using a custom back ground you can cut your sim out and past him/her into a new layer.
If you would like to practice on the sim used in this tutorial, get the full size pic here:
https://2img.net/h/i1200.photobucket.com/albums/bb331/EvieSims/Before.pngThe first thing that stands out is the clothing when your graphics aren't up to par. They appear pixelated and just plain bad. So lets start by fixing that.
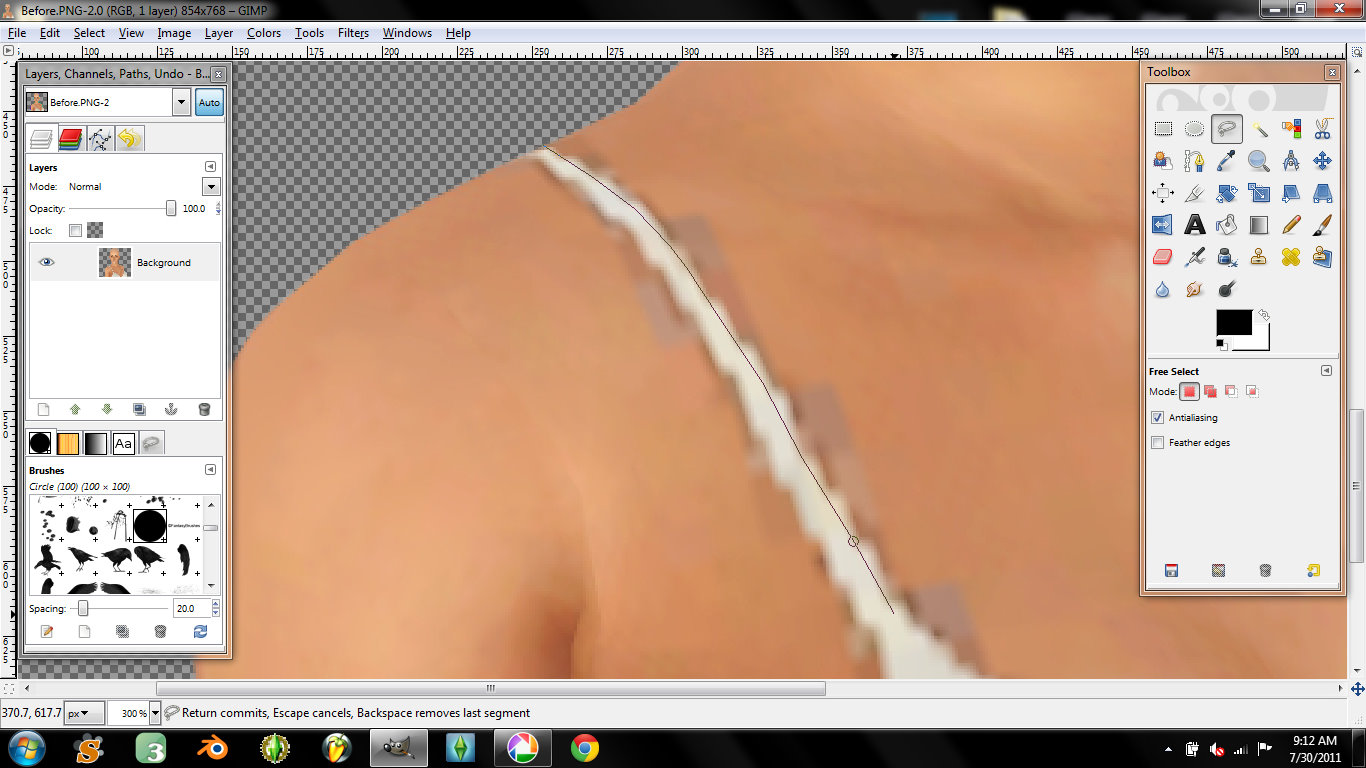
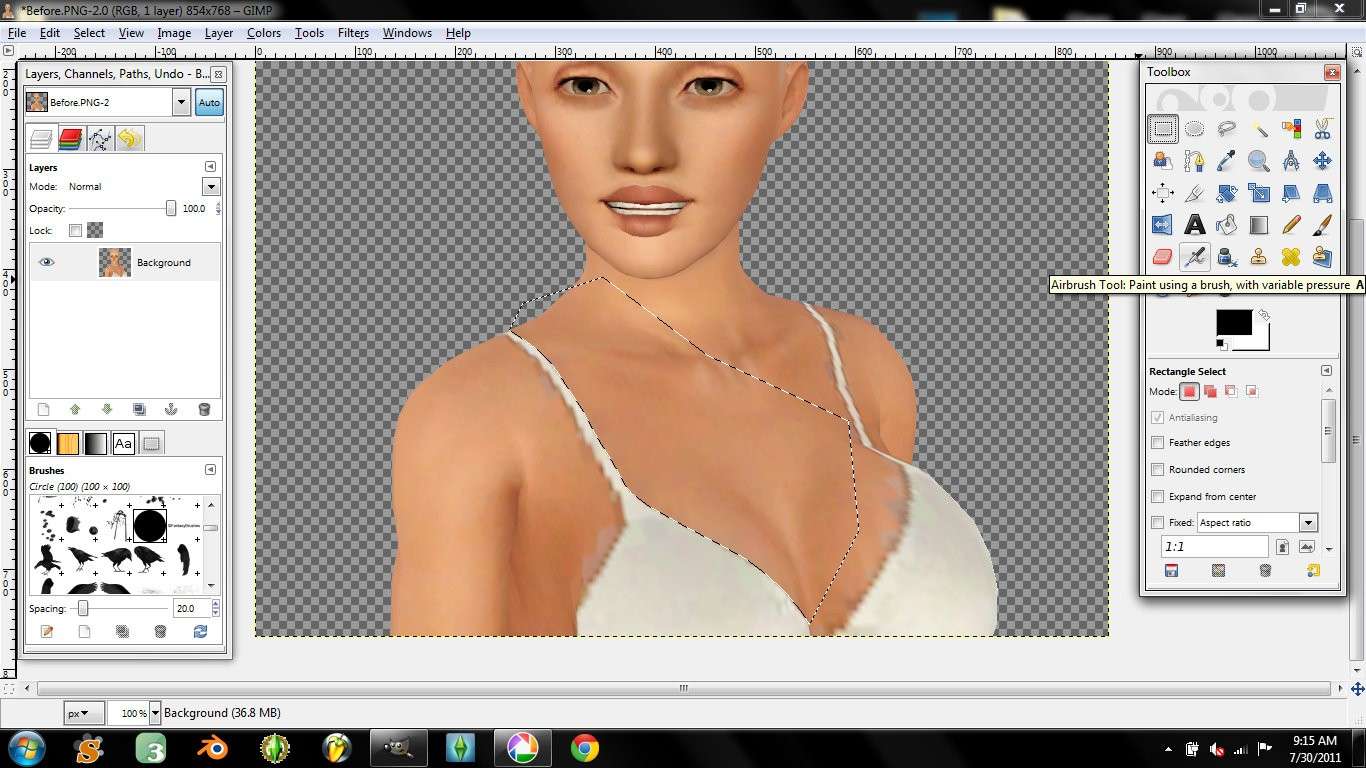
start inside the clothing a little bit and outline (inline in this case) the clothing using the free select tool as seen below:
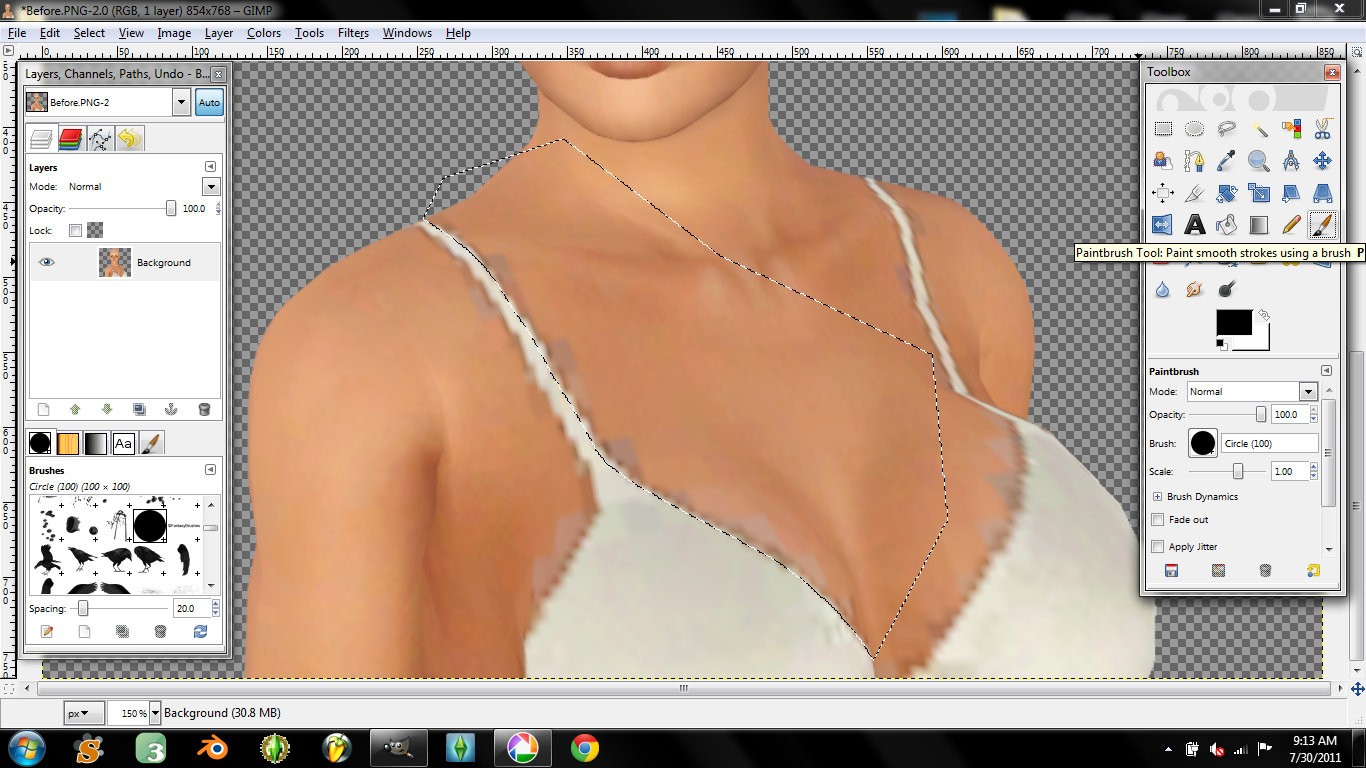
I usually do it by section as seen below:
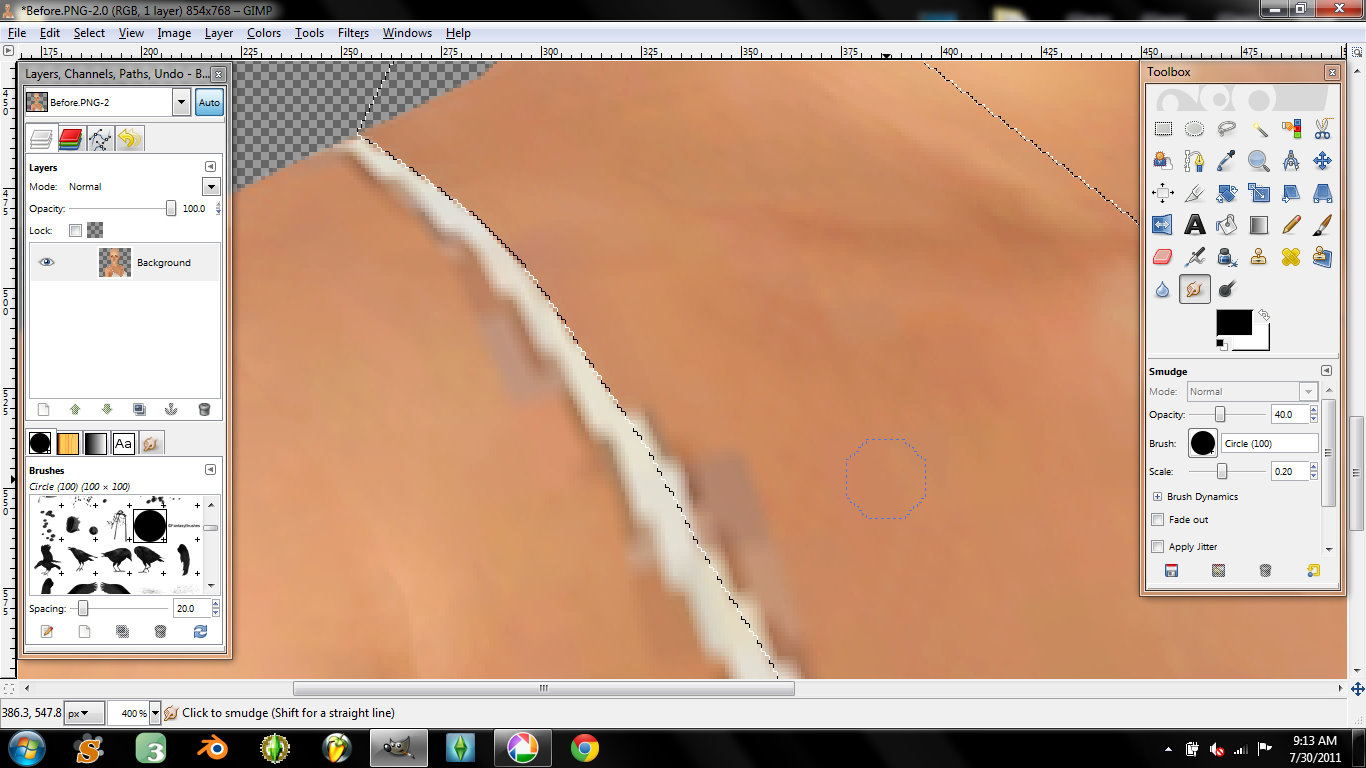
Now select your smudge tool, I usually range between 10% opacity - 50% opacity. The opacity is up to you, If it doesn't appear to be smudging then increase it, if it's smudging too much then decrease it. For this part of the tutorial I was at 40% opacity. Smudge the skin up to the line you've made as seen below:
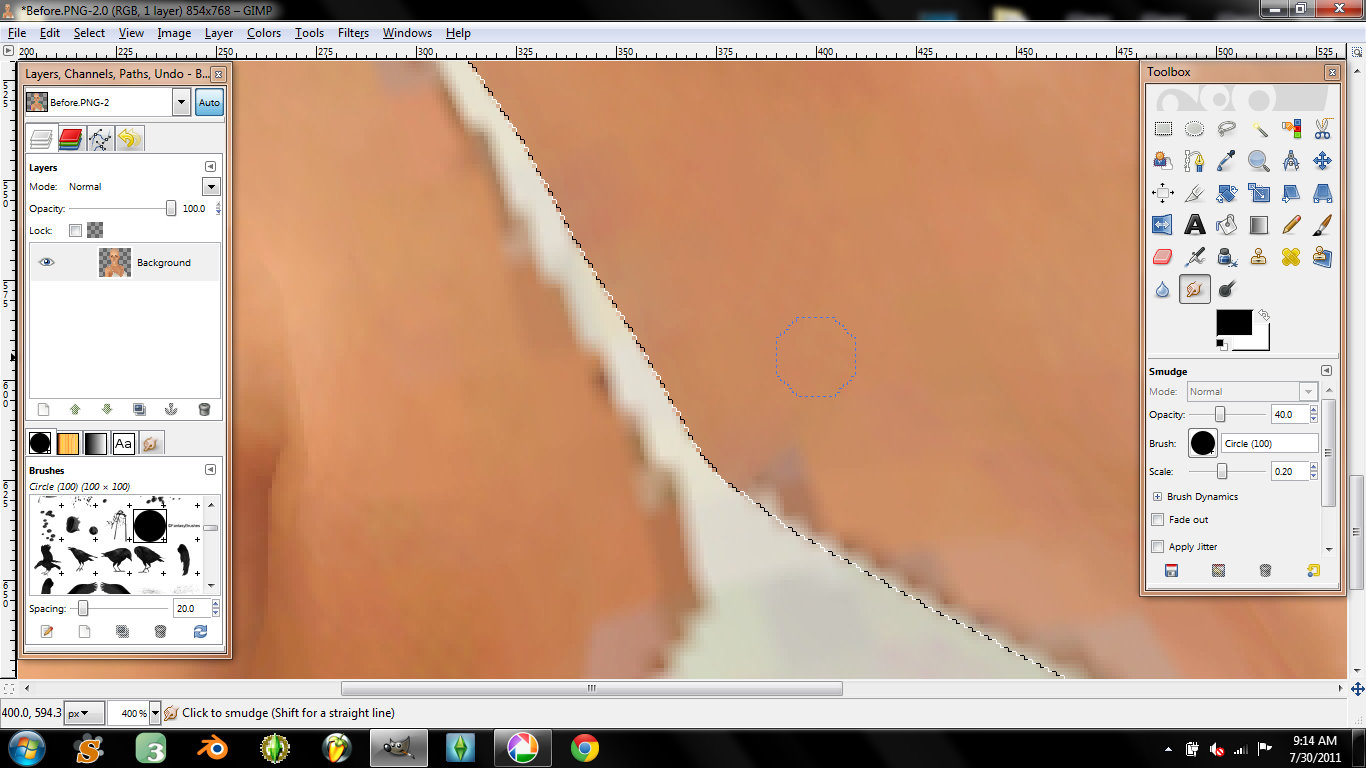
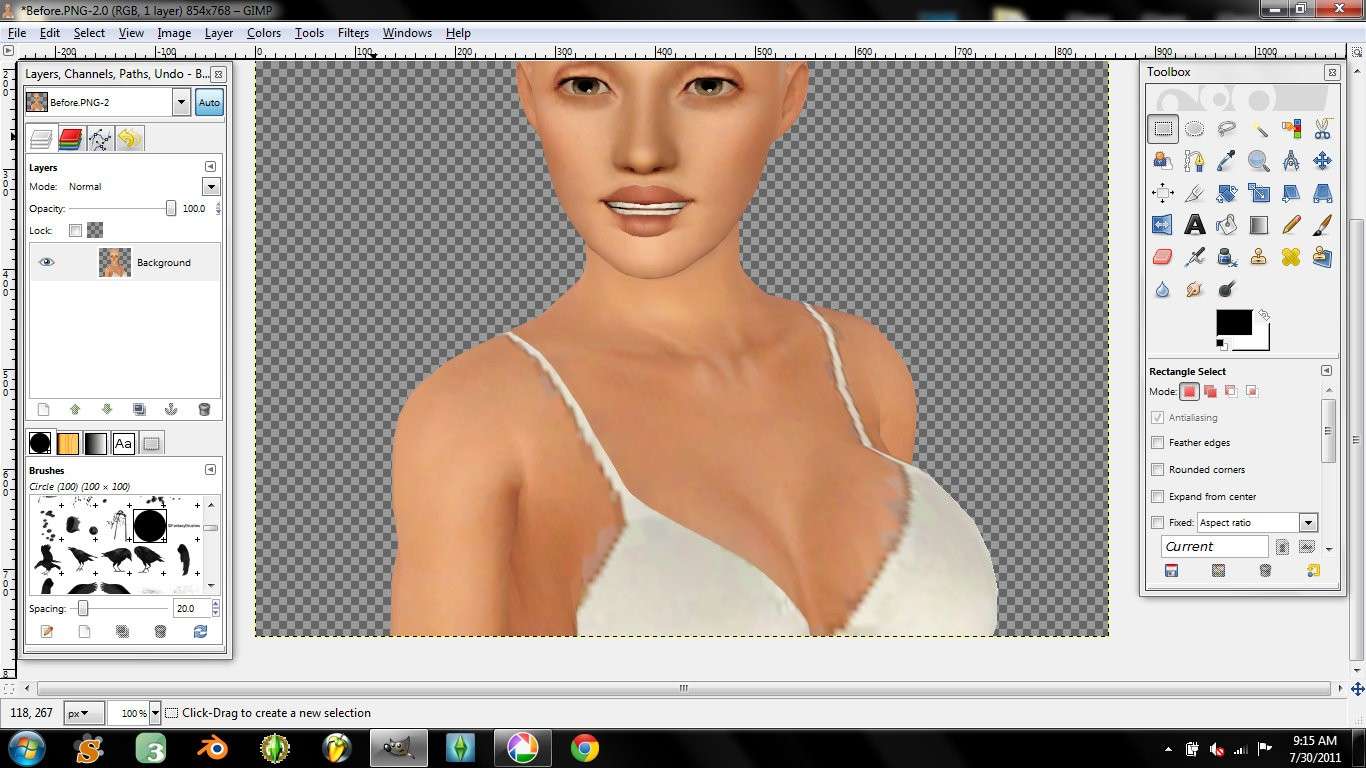
Do this all around the outside of the clothing (in this case the bra) until you end up with a result similar to this:

Now that the clothing is cleaned up, lets smooth the pixelated skin using the smudge tool.
I usually start off at 20% opacity and if that isn't smudging enough I increase it depending on the section that isn't smudging.
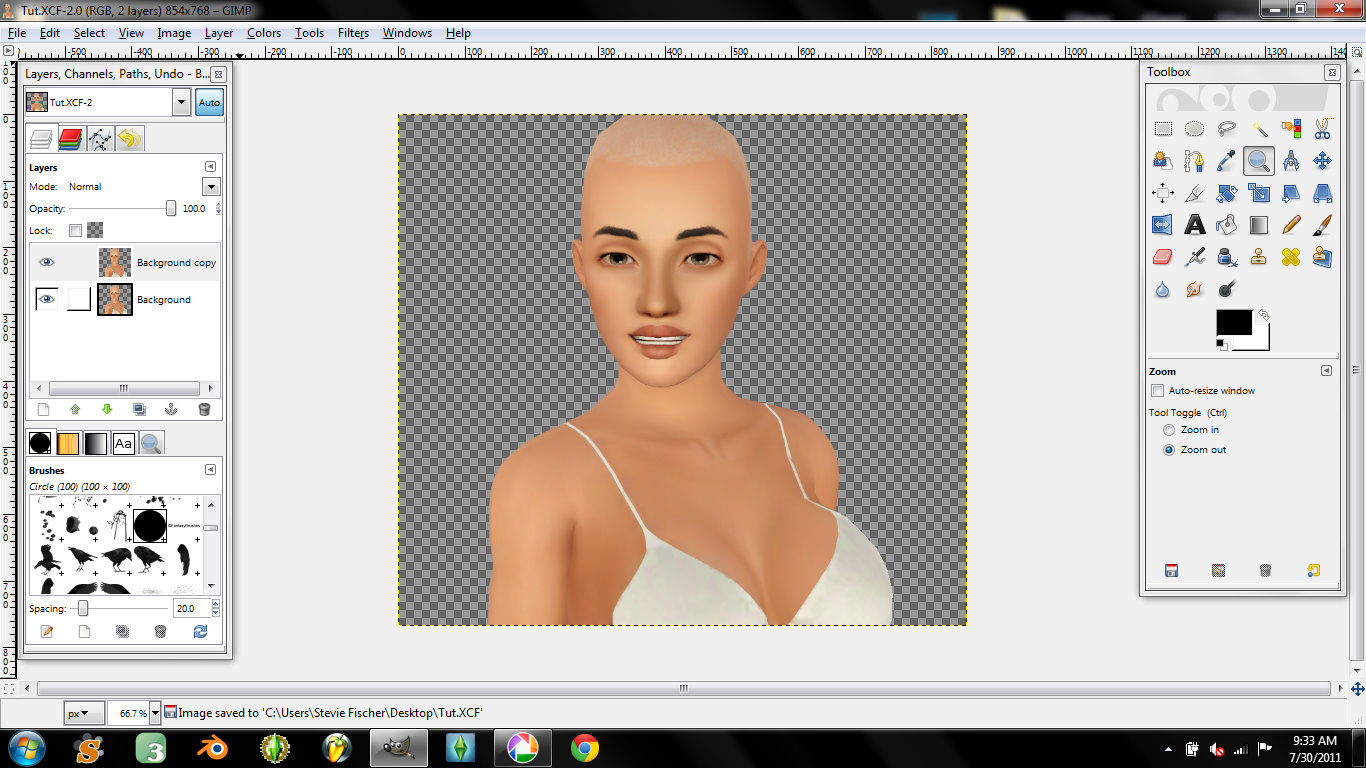
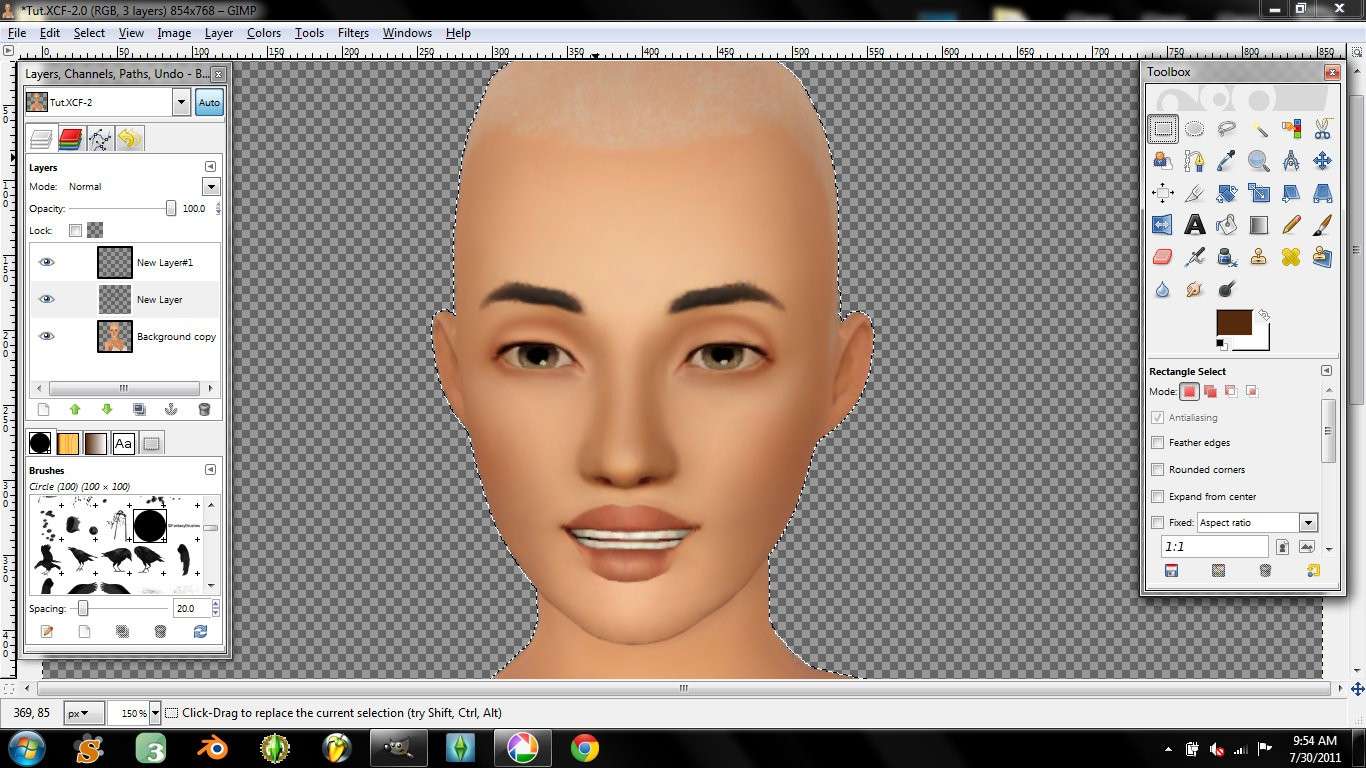
Now that the skin and clothing are finished, we need to add some shading and highlights to give the sim a bit more realism, depth, and quality. Start by creating a new layer. Now with a dark dark brown, outline the areas you want to shade. I usually outline the shoulders and other parts that need to be shaded such as the armpits, occasionally under the chin and breasts:

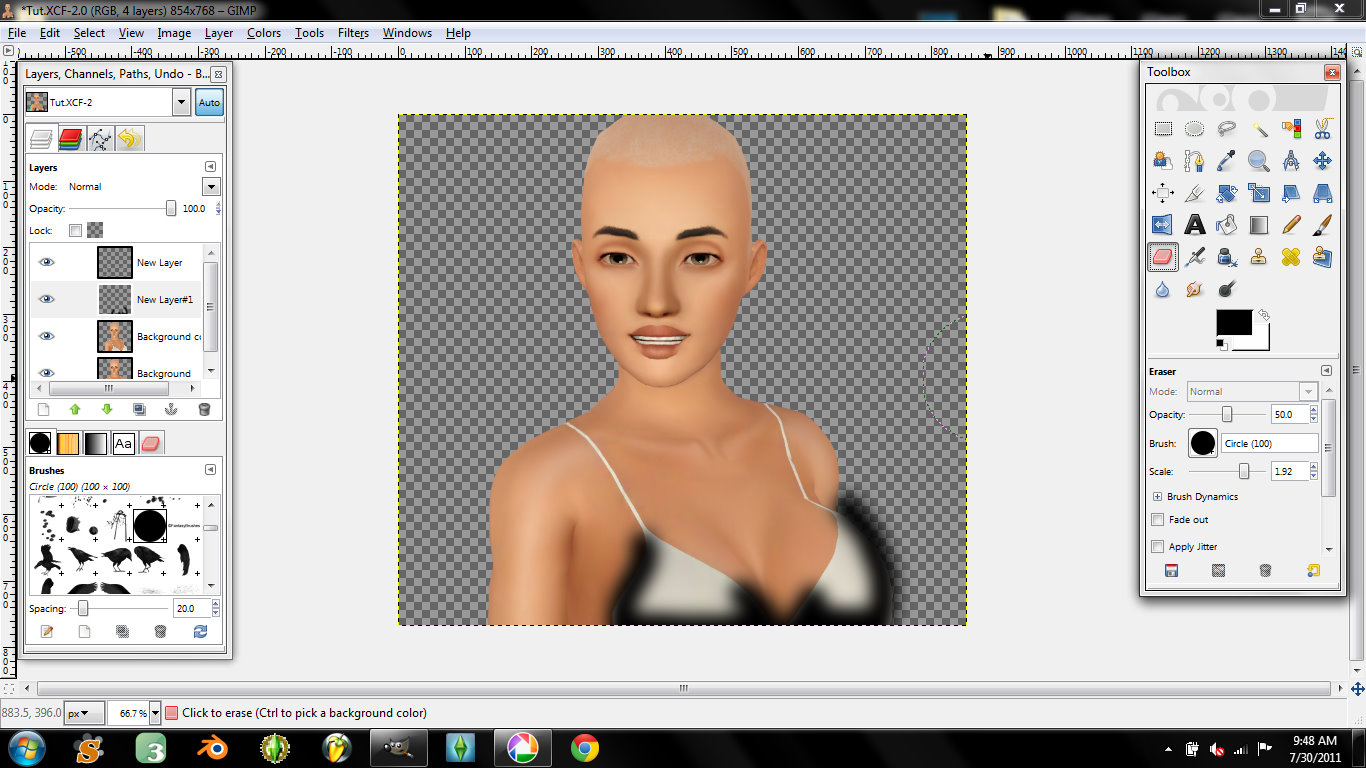
At this point I prepare my eraser tool at 50% opacity:
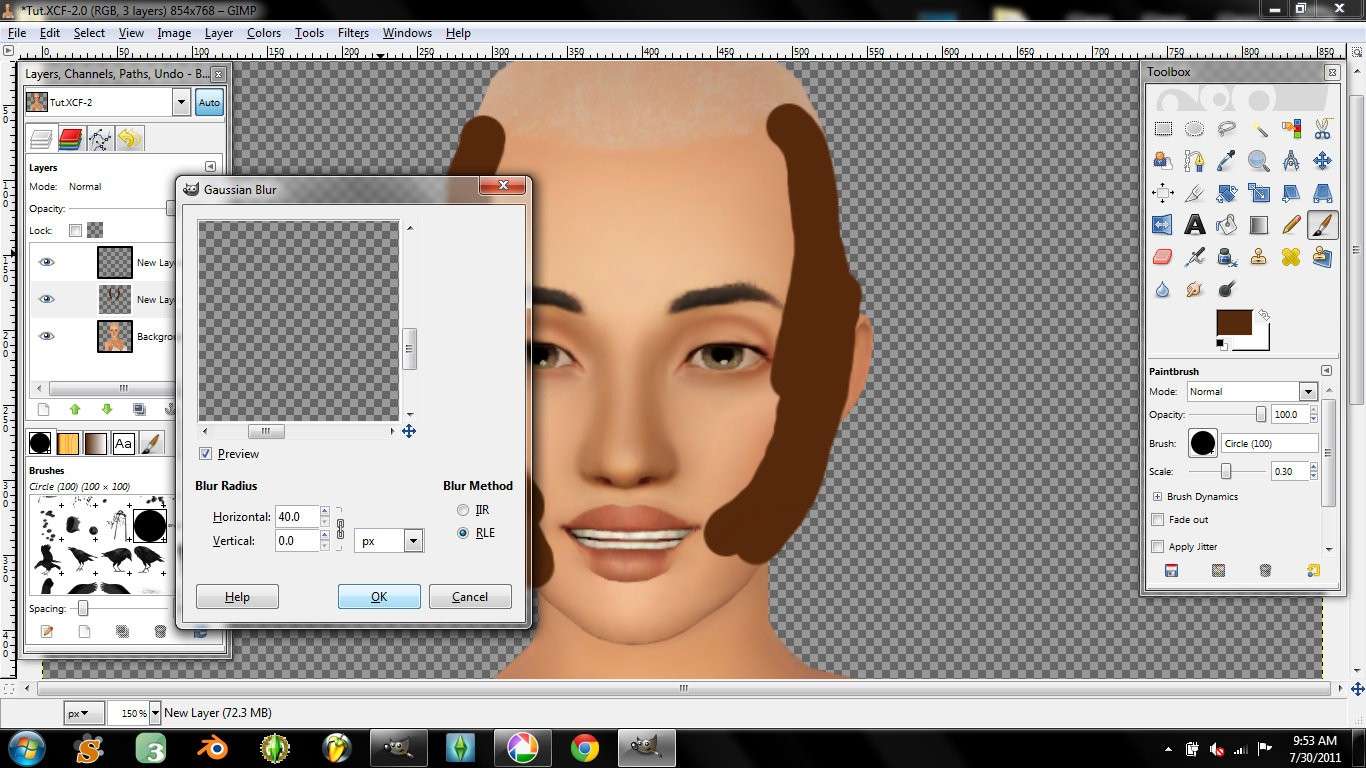
Now that you have outlined the shadows open the gaussian blur effect and set it somewhere high, like 30.0 - 50.0. You be the judge, if it's set too high you can always undo and lower it. If it's set to low you can always apply it several times to get the desired look:
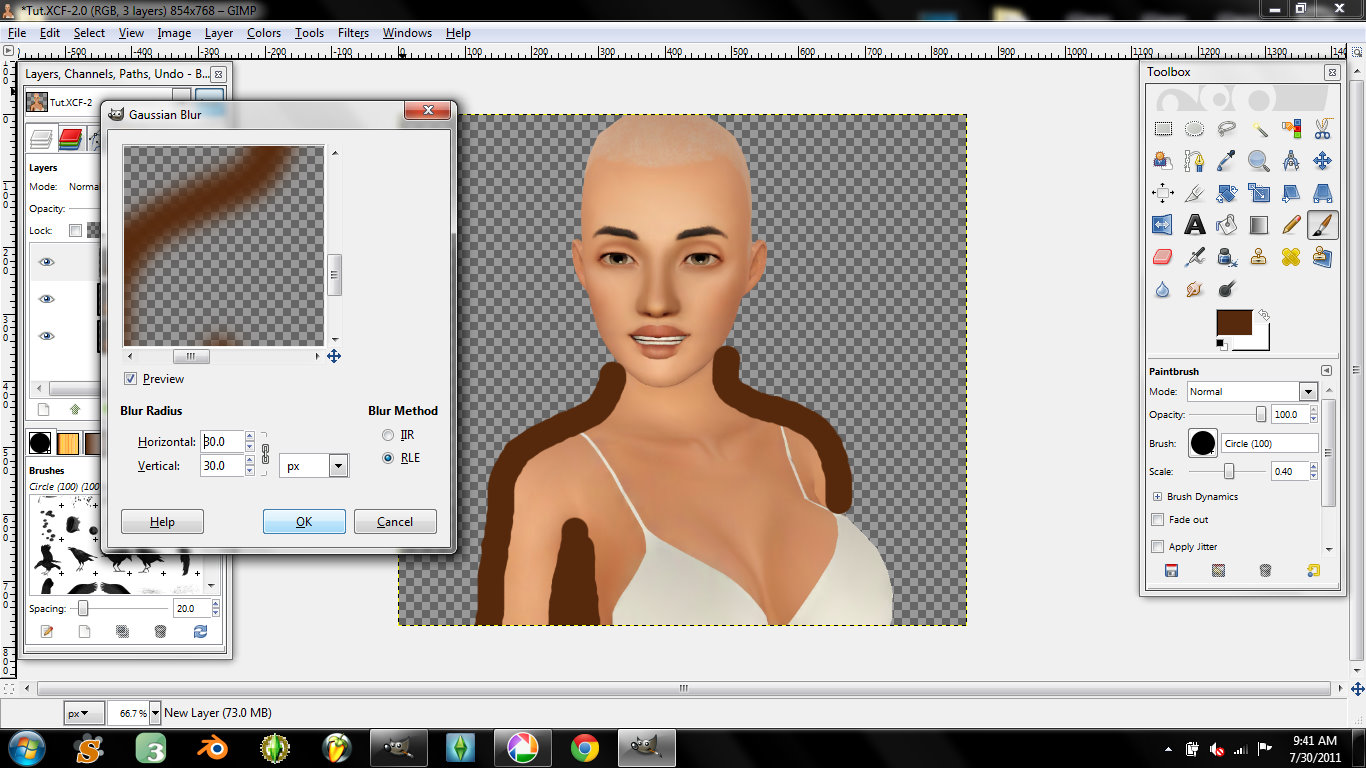
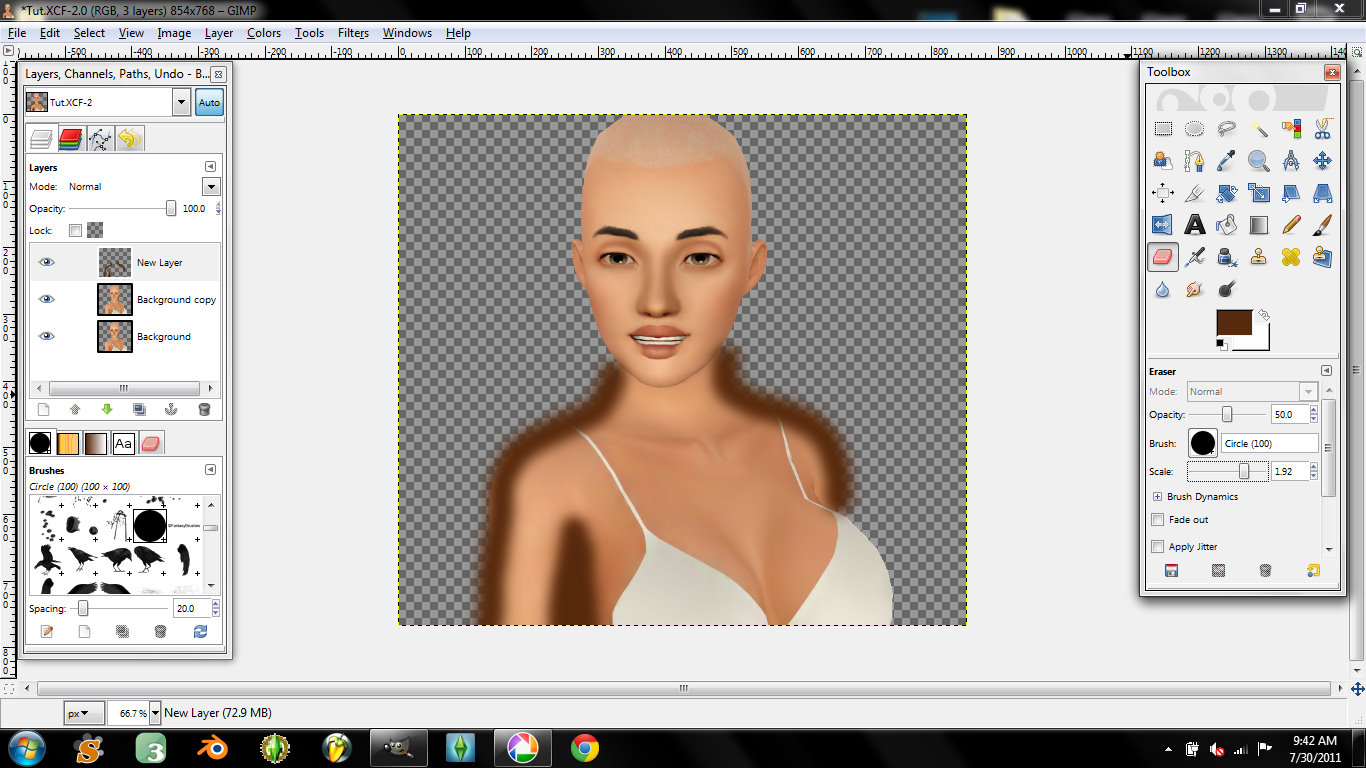
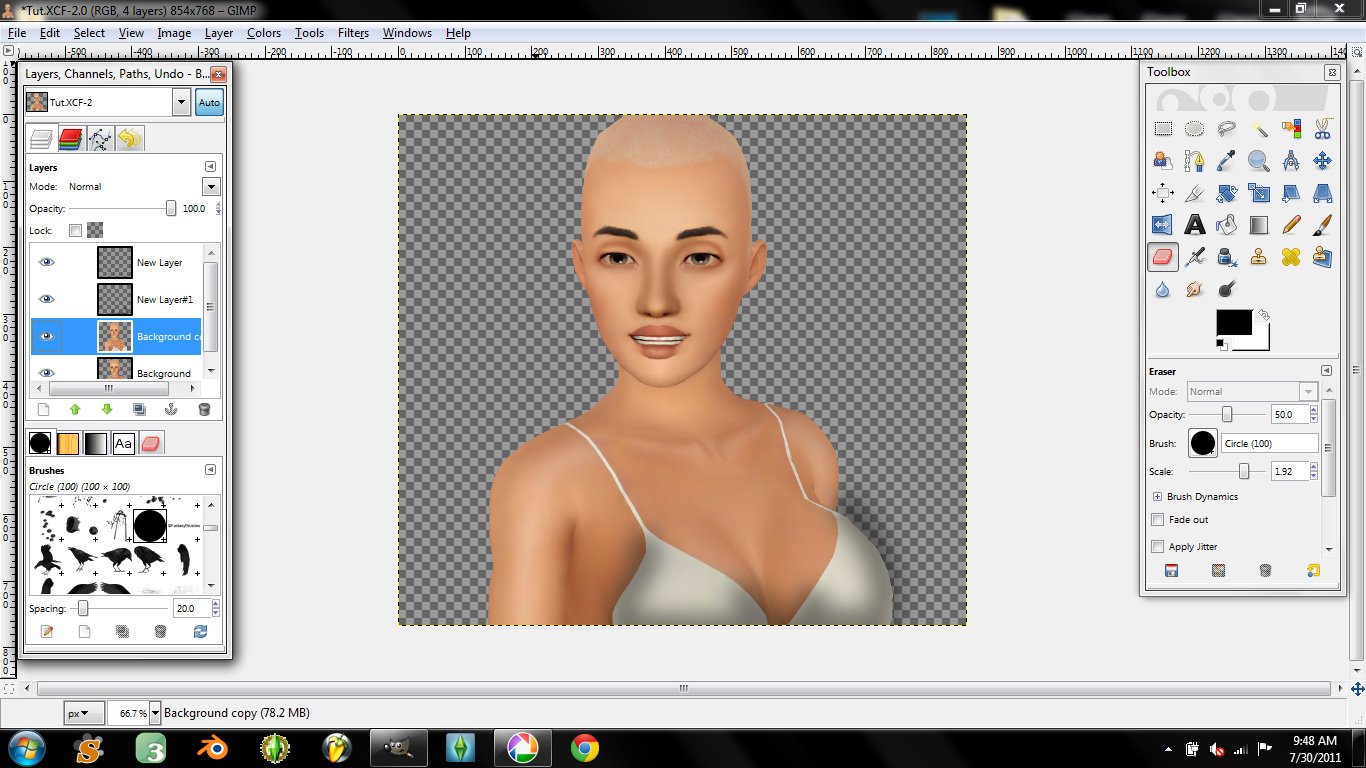
After you have applied the gaussian blur, use your eraser tool at 50% opacity and erase this layer. Alternate between gaussian blur from anywhere between 5.0-50.0 and the eraser tool from anywhere between 10%-50% opacity until you get the desired look. You can click the eye on your current layer in your layers dialog to see what it looks like without this new layer and with it.
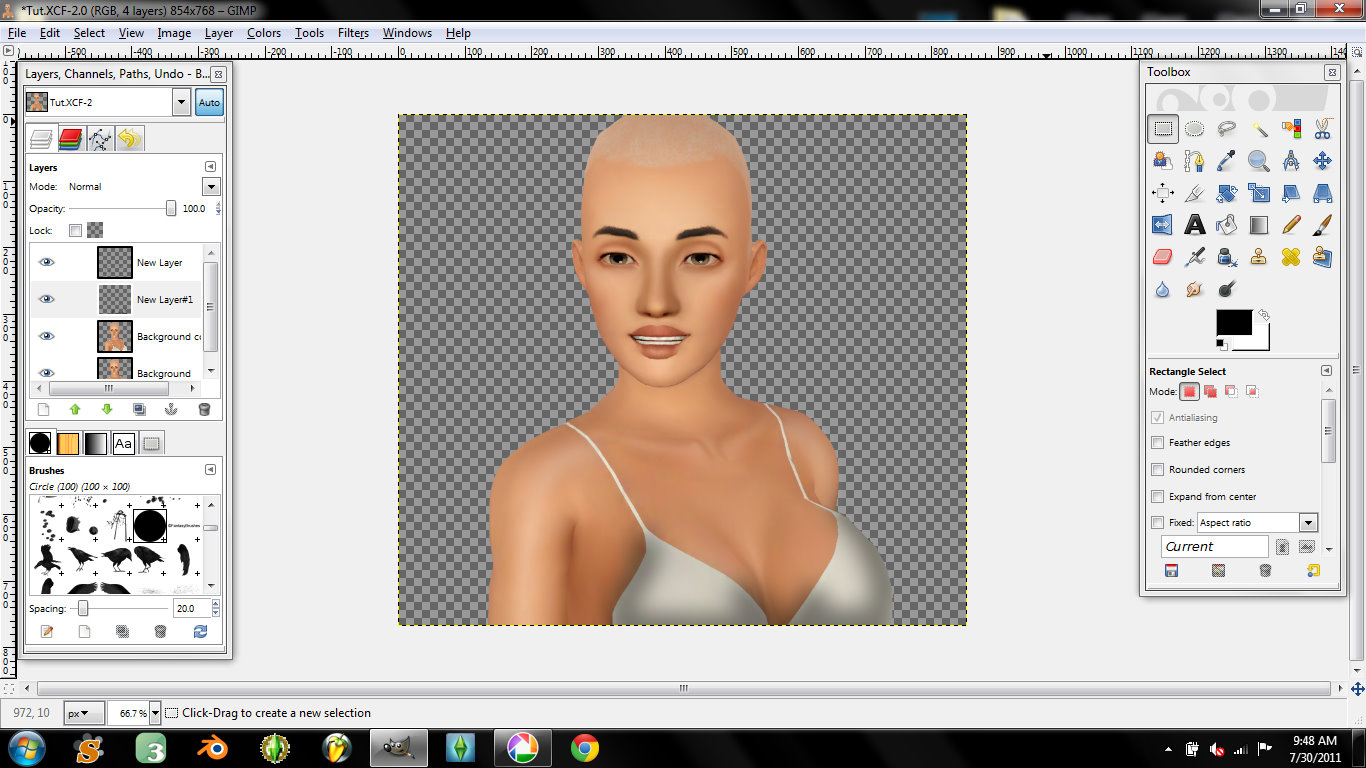
After you have your desired look, select the color select tool, click on your sim layer, select the transparent color, click your shadow layer and hit delete. This will remove any blurred brown that may be on the background.
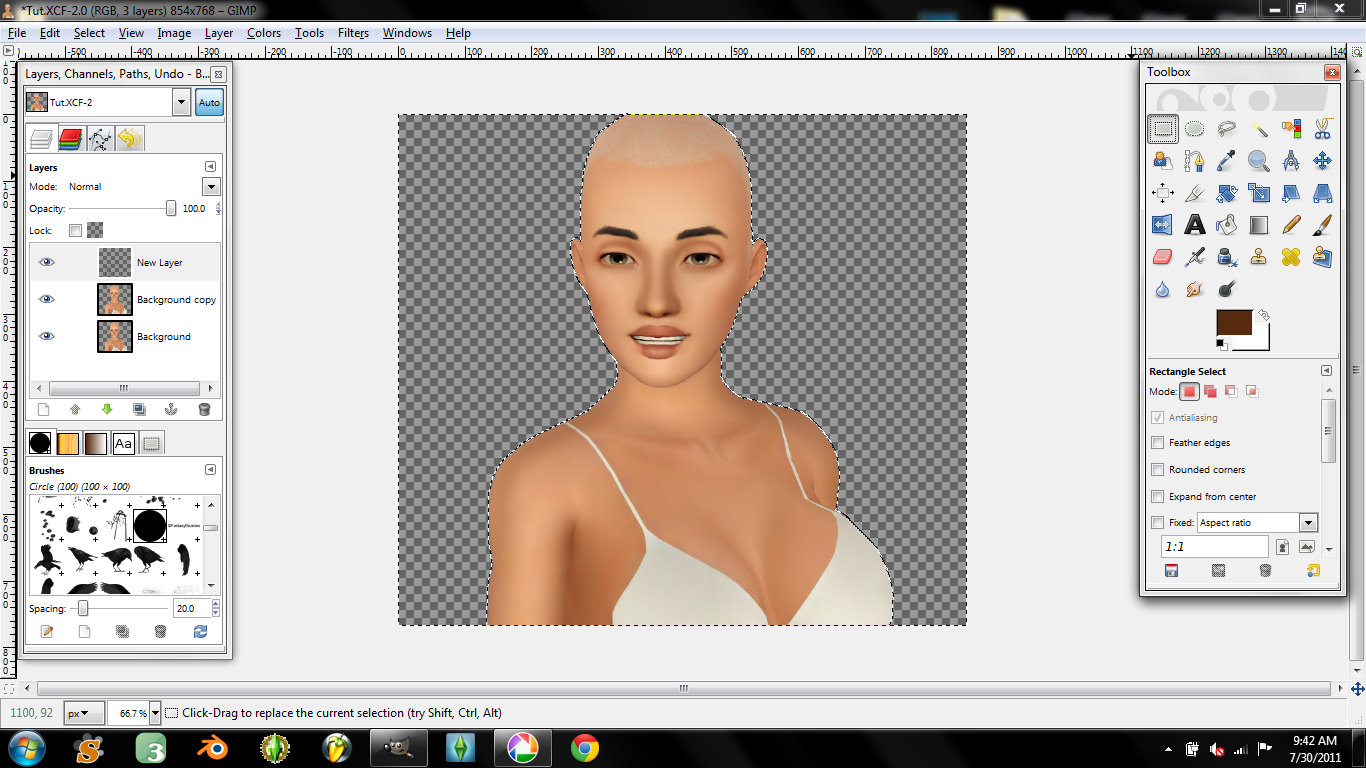
Now follow these steps for the face, add a new layer, outline the face, gaussian blur/erase until you have your desired look, color select the transparency around your sim, click the new layer and hit delete:
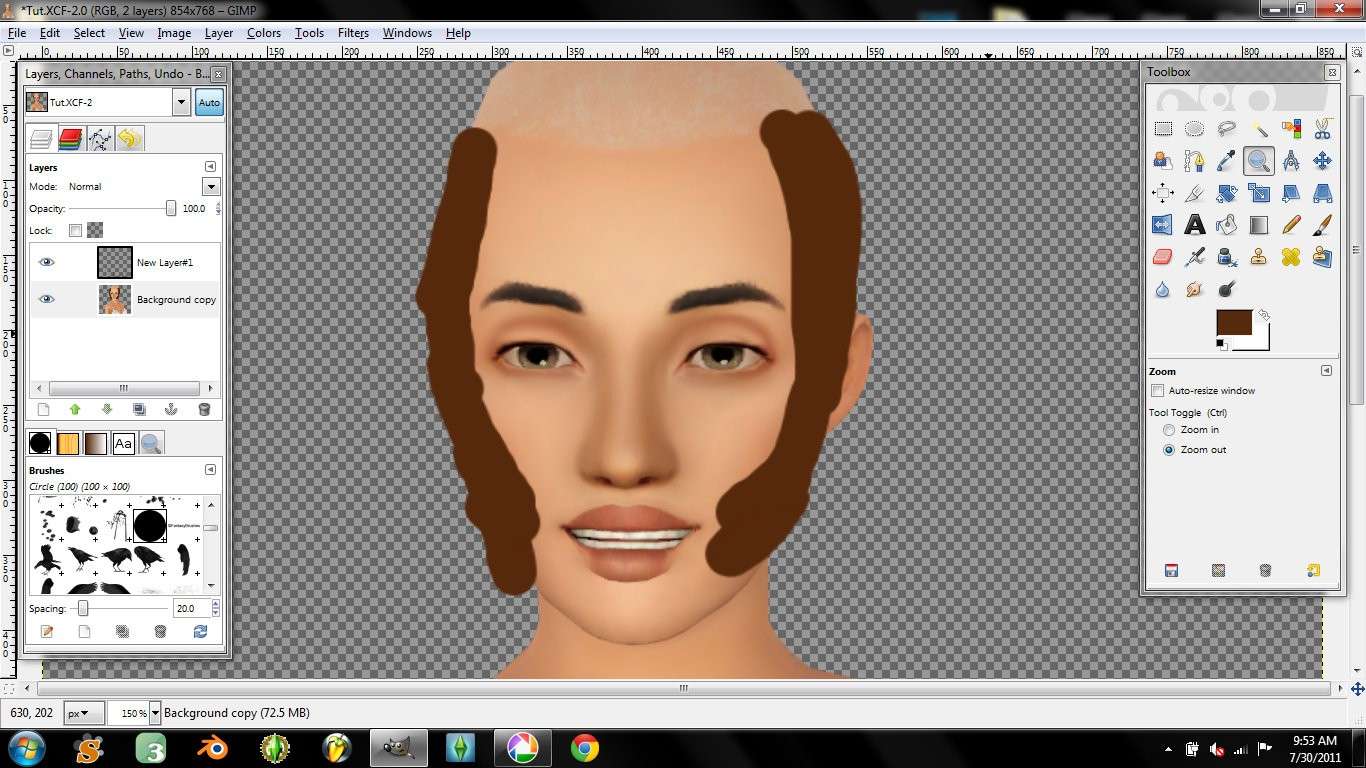
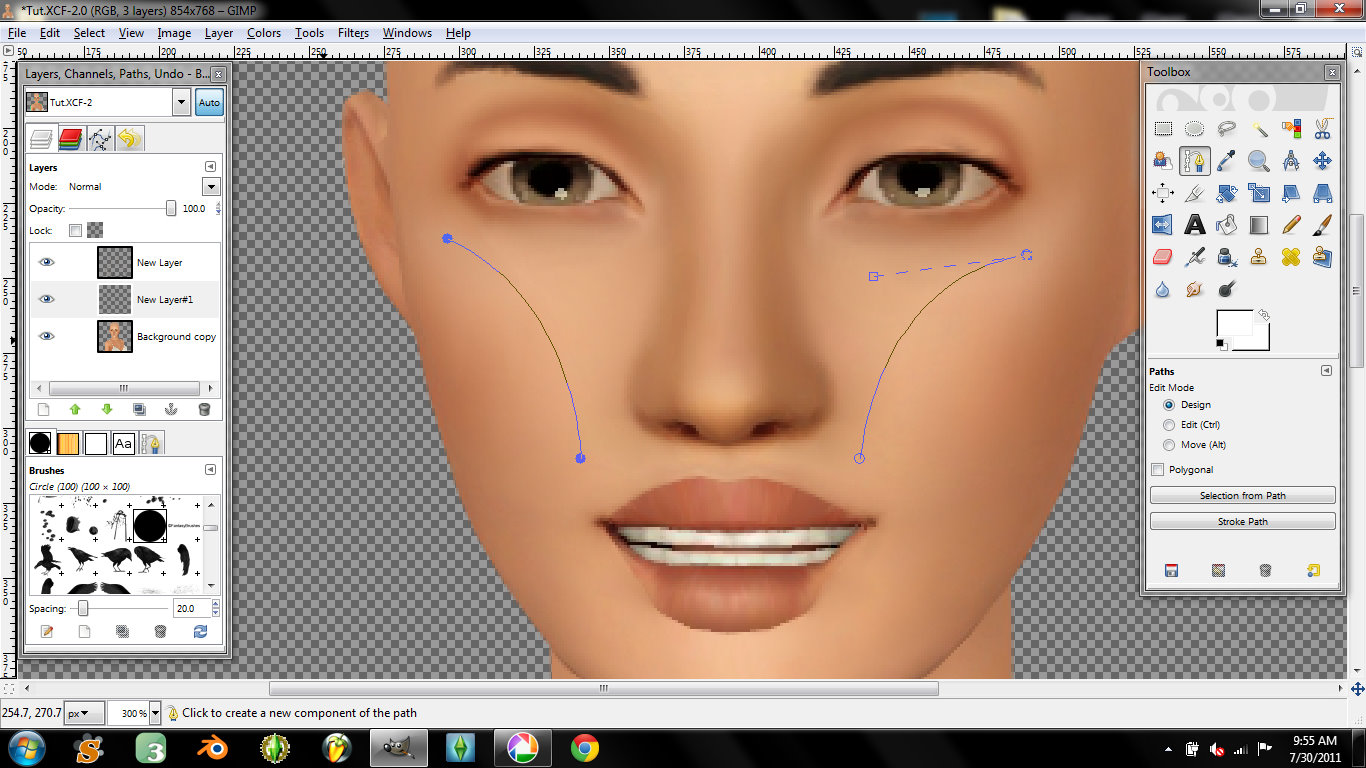
Now add a new layer and select your pen tool. Make sure the color is set to white. somewhere in the middle of your sims arms draw a line from the bottom to mid shoulder. Hold CTRL and do the same on the opposite arm:

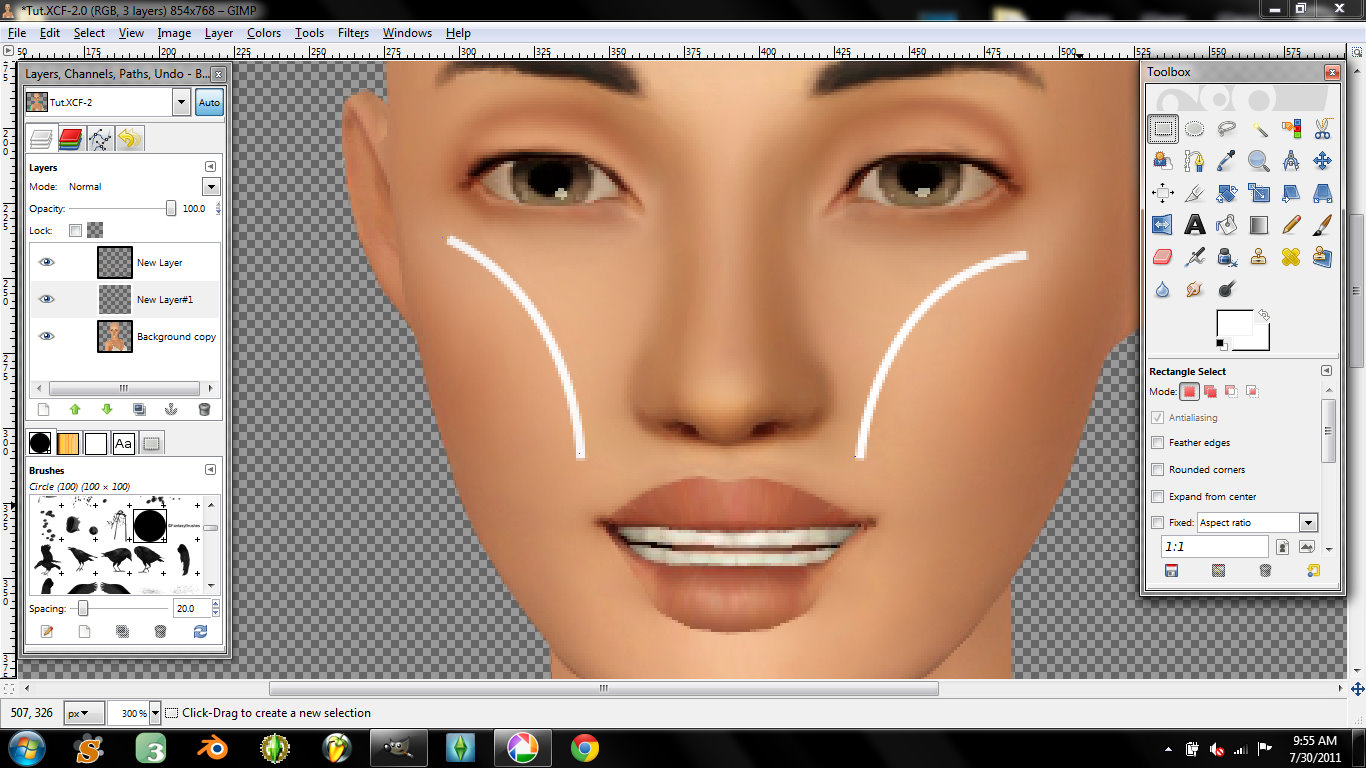
Now right click/Edit/Stroke Path. Set the width depending on your distance. Since this is a closer image, I'm going to set the stroke width to 5.0. You don't want it too thick otherwise it won't look like shine, it'll overpower and look more like a glow effect.
Now add a guassian blur, depending on your distance set it anywhere from 5.0-50.0. For this tutorial I have set it to 40.0.
Again alternate between the eraser and gaussian blur until you're happy with it.

Now follow the highlight steps for the collar bone, neck, breasts, chin, forehead, nose, and cheeks. For this tutorial I have only chosen to highlight the arms, collar bone, and cheeks.

Now I'm going to add some shading around the bra since it's looking a little flat, create a new layer:
Select black from your color pallet, outline all of the areas that should be shaded as seen below:
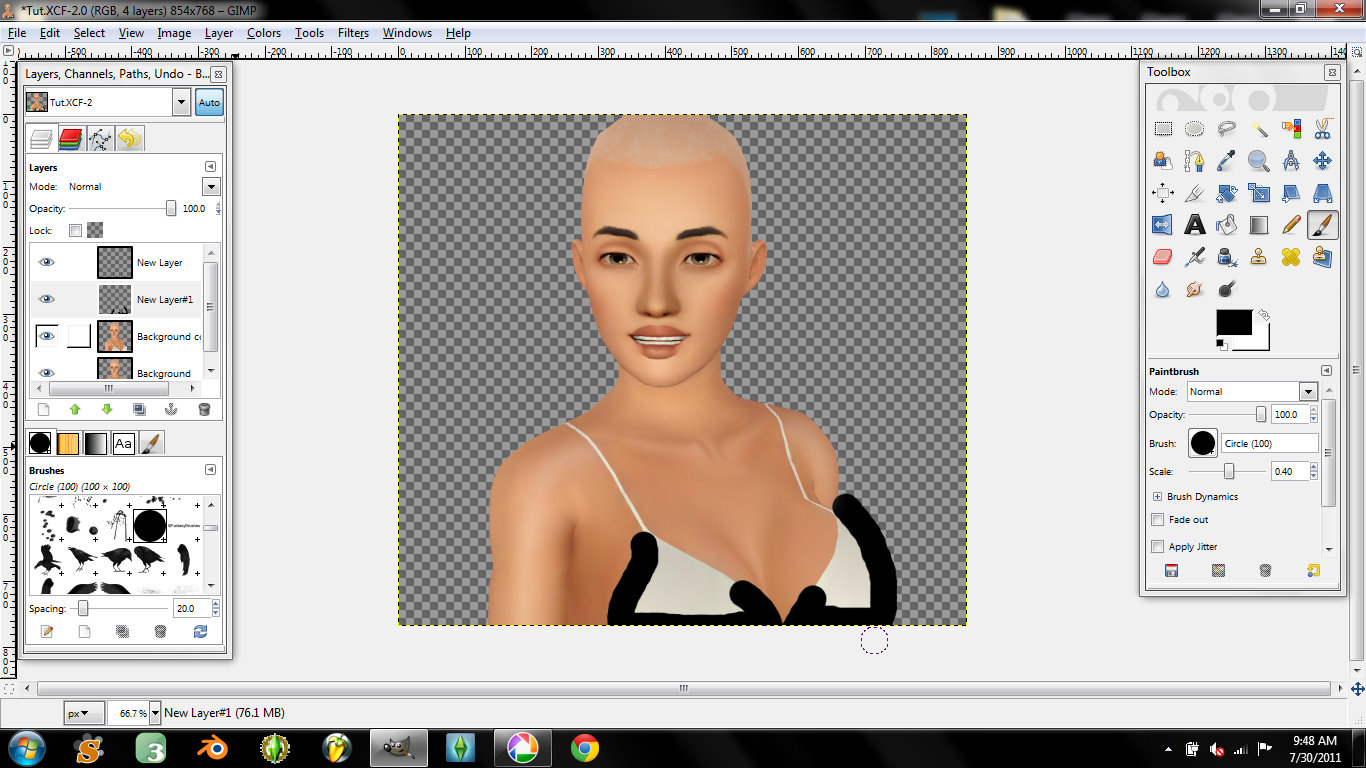
Now lets alternate between guassian blur and the eraser tool again:

Now let's outline the bra in sections as seen below:
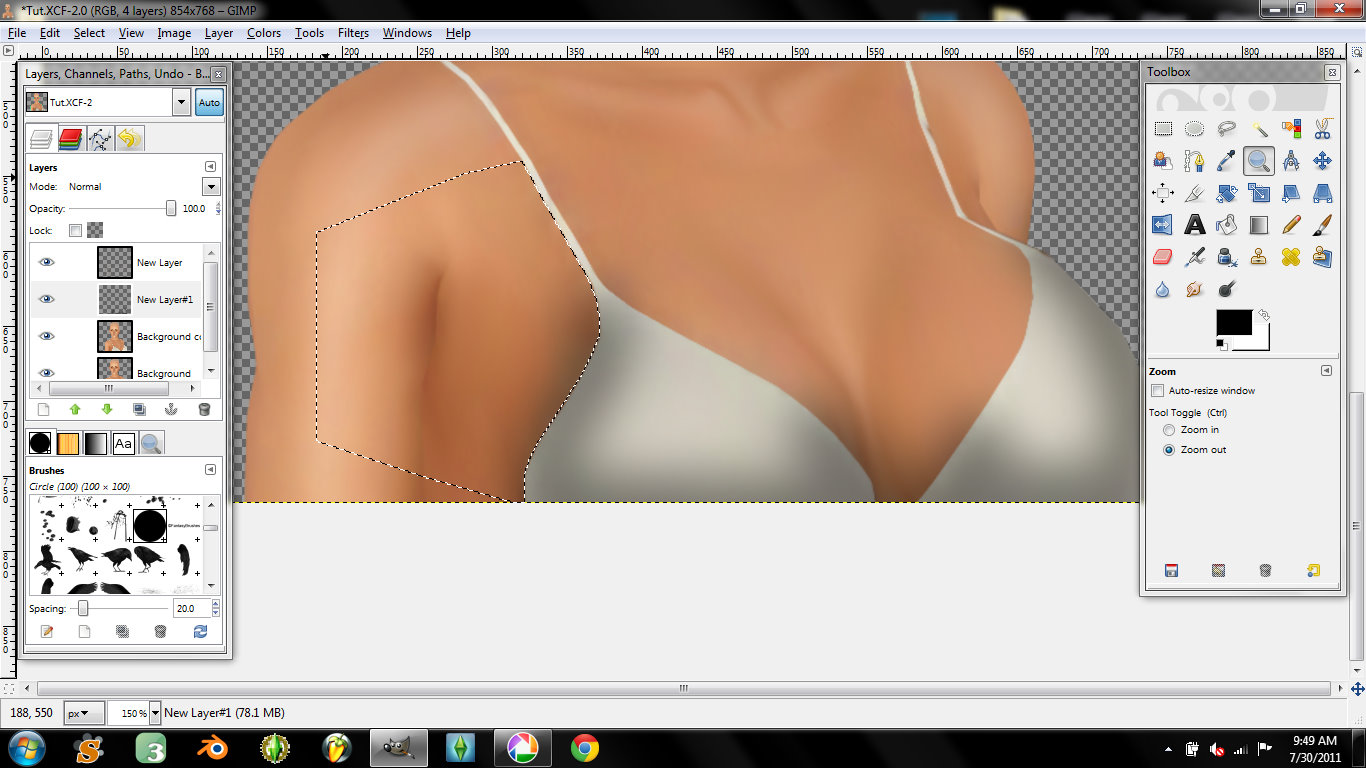
Delete the sections: (This is removing the black that is on the sims skin)
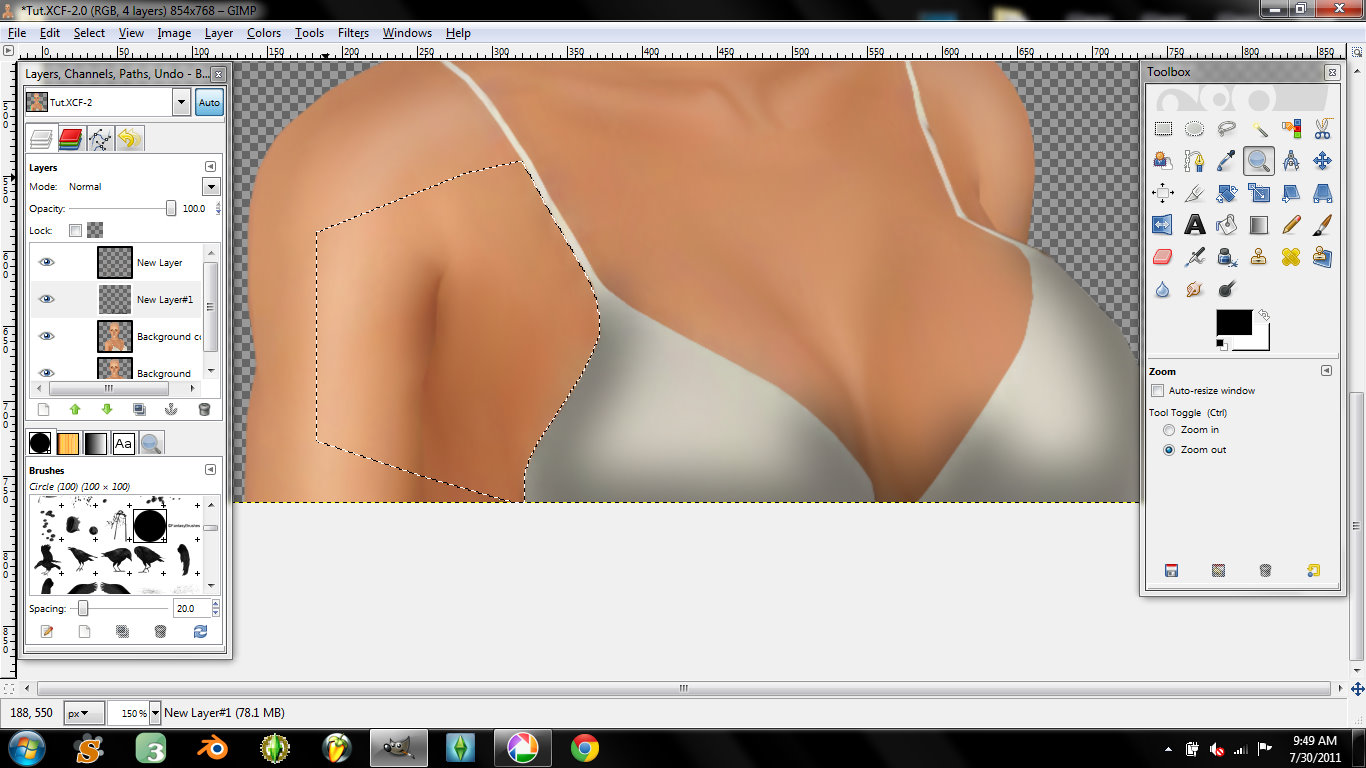
Do this for all sections of the bra/clothing.
Now lets select our sim layer and fix those eyes:
Outline using the free select tool the inside of the eyes as seen below:
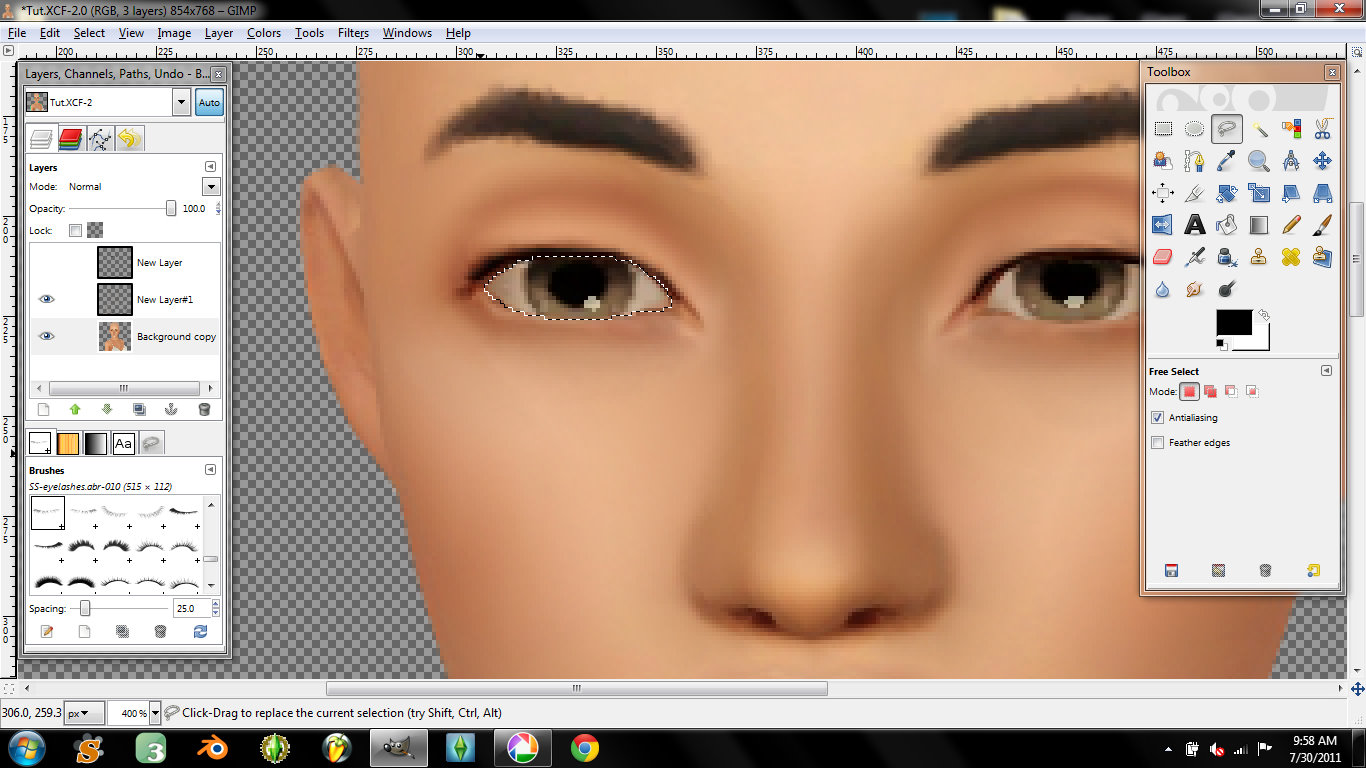
Delete:

Now create 3 new layers and place all of them below your sim layer.
Find an image of an iris on the web, open it in gimp and cut it out:
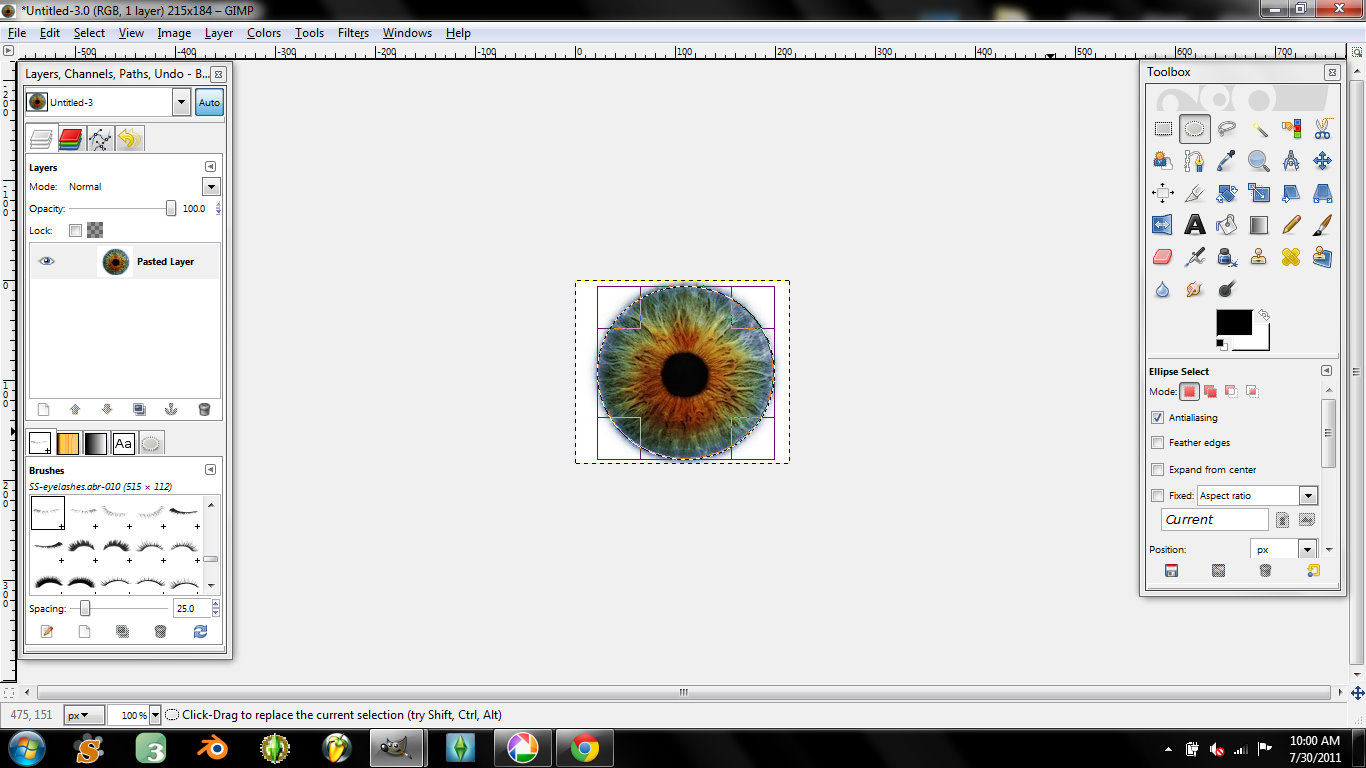
paste it in the middle of the 3 new layers and scale it to size, copy it and paste it into the other eye hole.:
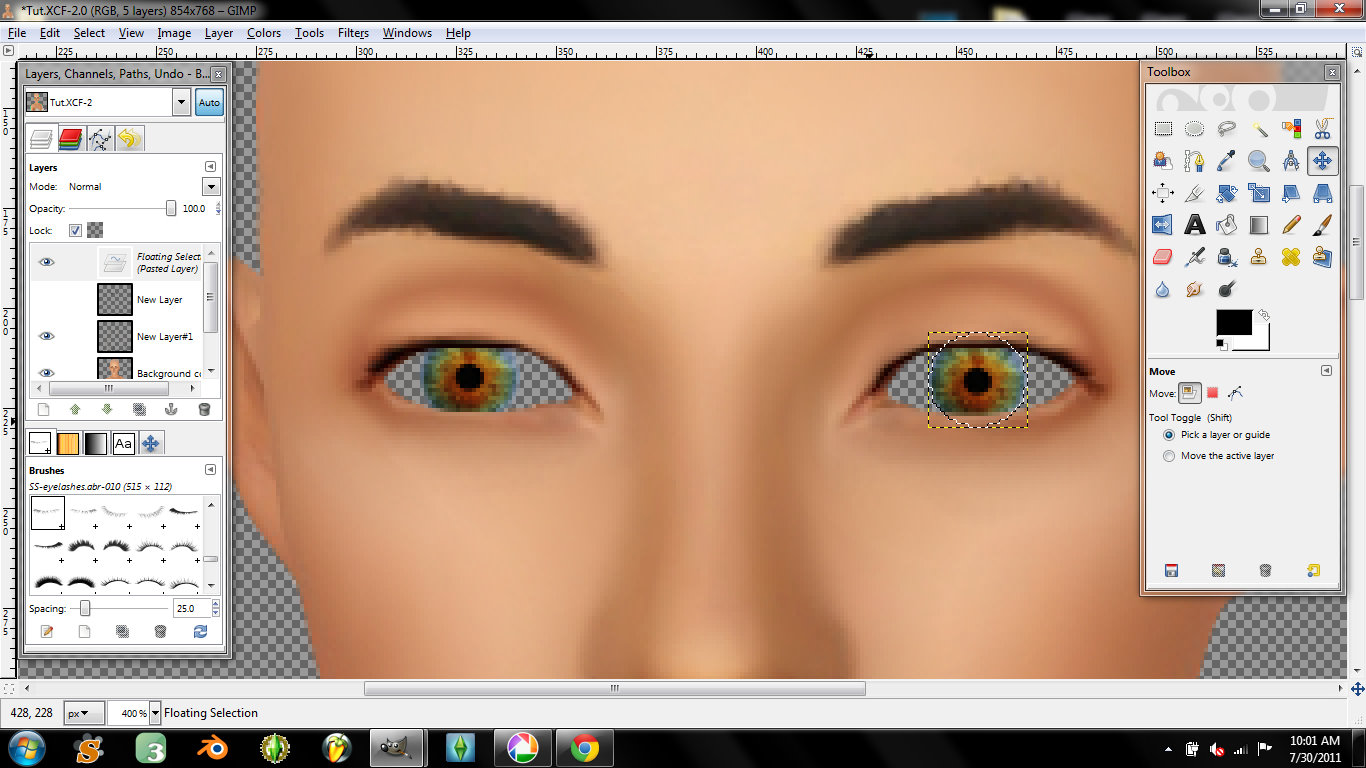
Now, on the very bottom layer, using your brush tool with the color white, fill in the eye as seen below:
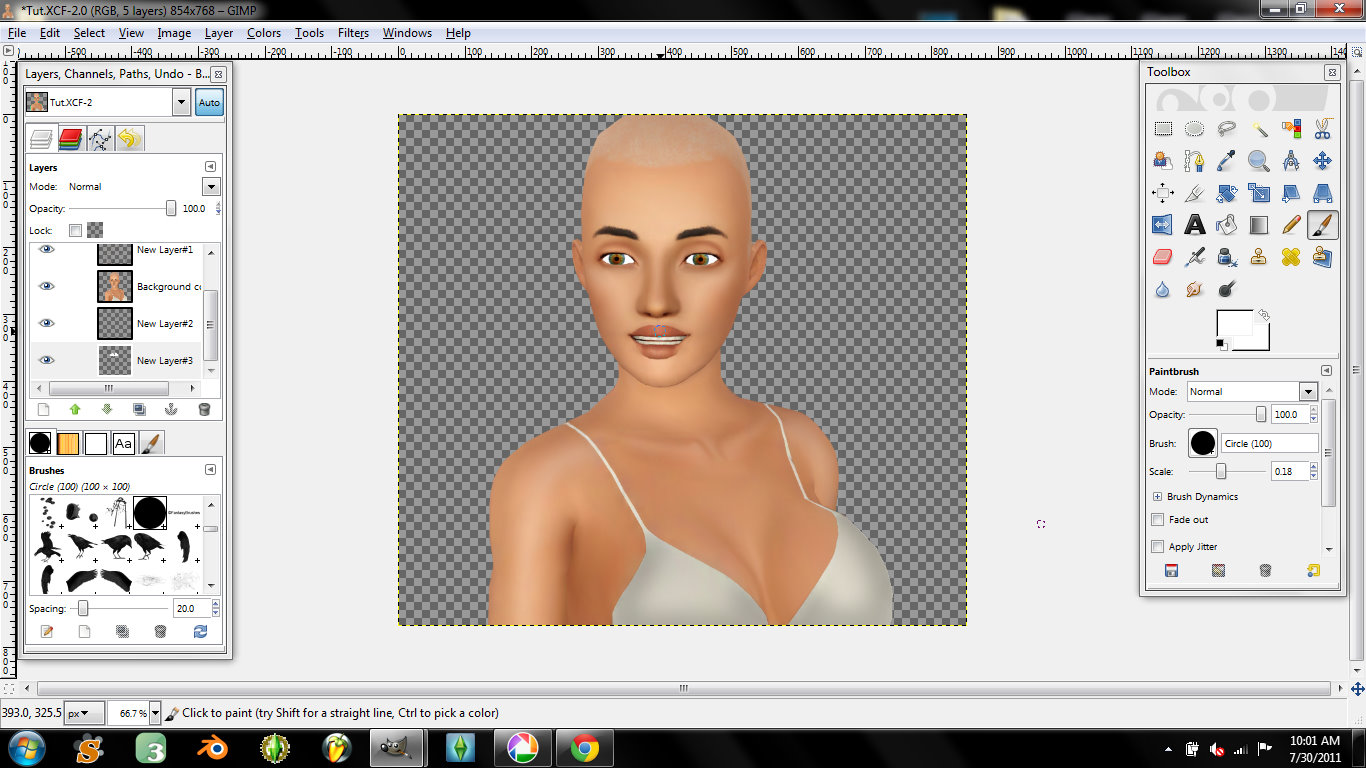
Here is what it looks like with the sim layer invisible (showing you its okay to be messy)
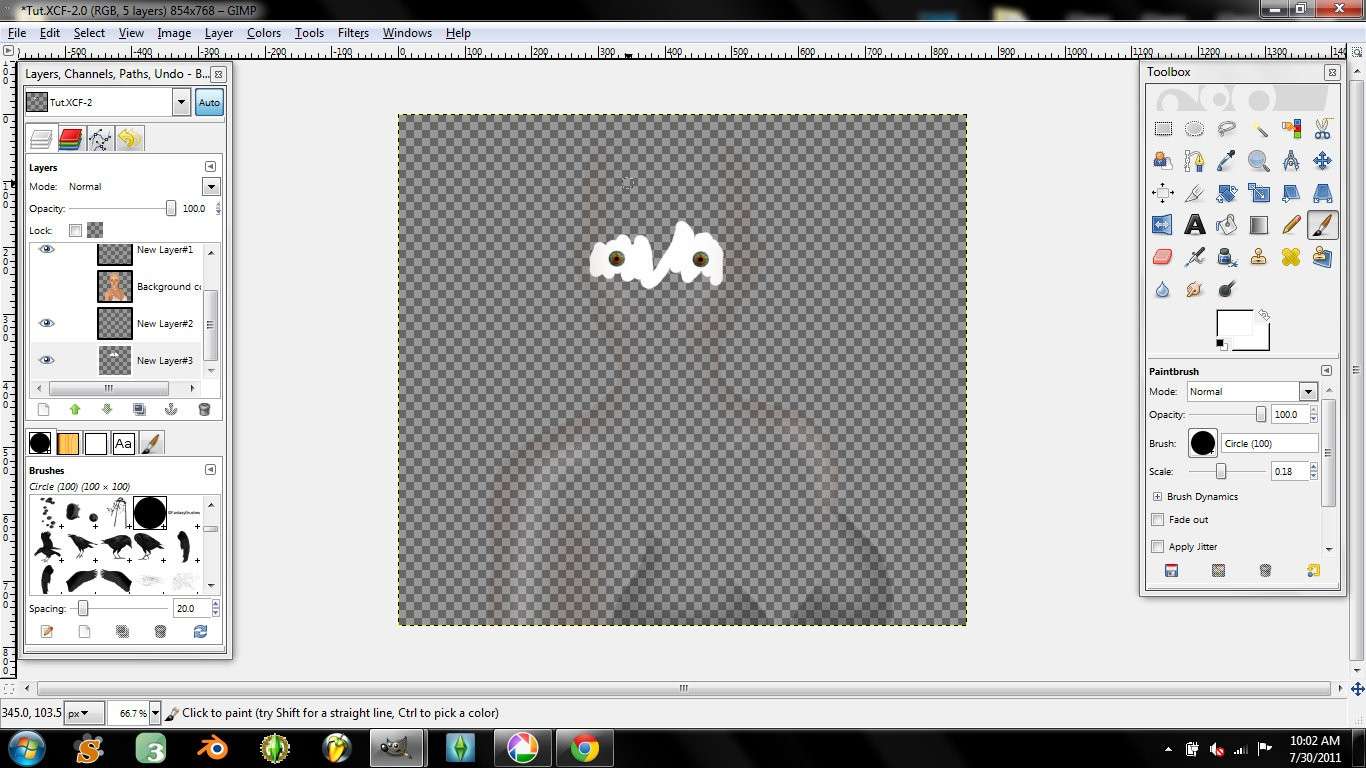
Now on the top of the 3 layers (the one right below your sim layer) outline the eye with black using your brush tool:

Here is what it looks like with the sim layer invisible:
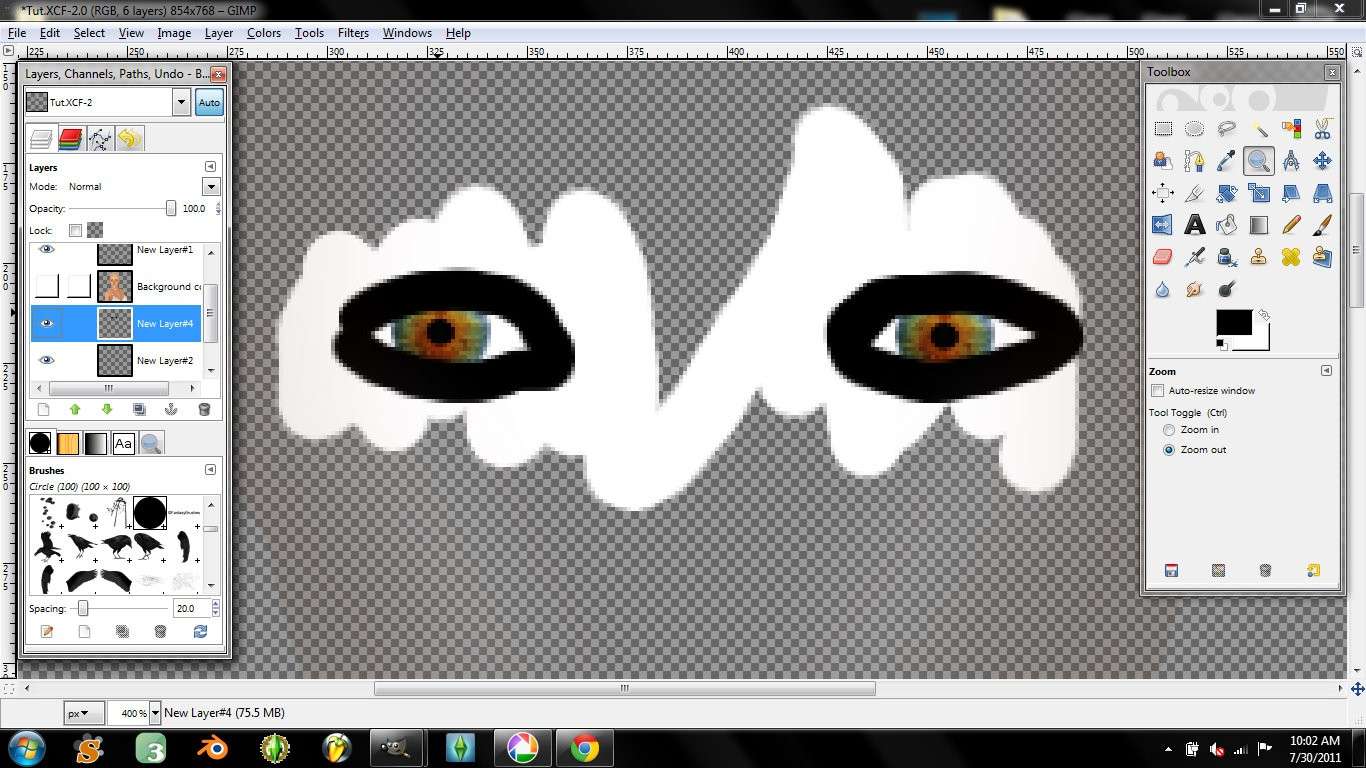
Now you'll need to alternate between gaussian blur and the eraser tool, you decide how much gaussian blur to apply and how much to erase. (Remember you don't want the whites of the eyes too bright, otherwise they look fake and flat).
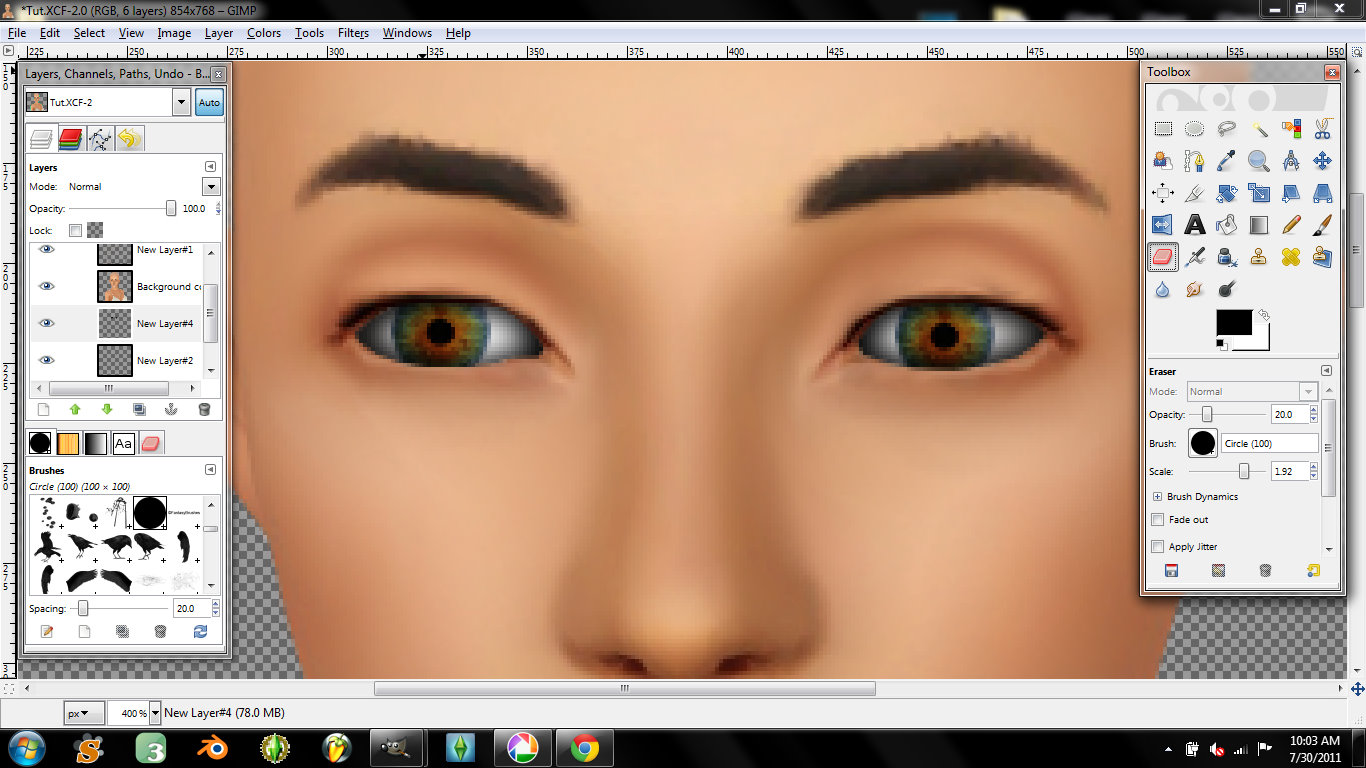
Now add a new layer and select your brush tool, scale it down small so you can draw fine lines in the eye using the color red:
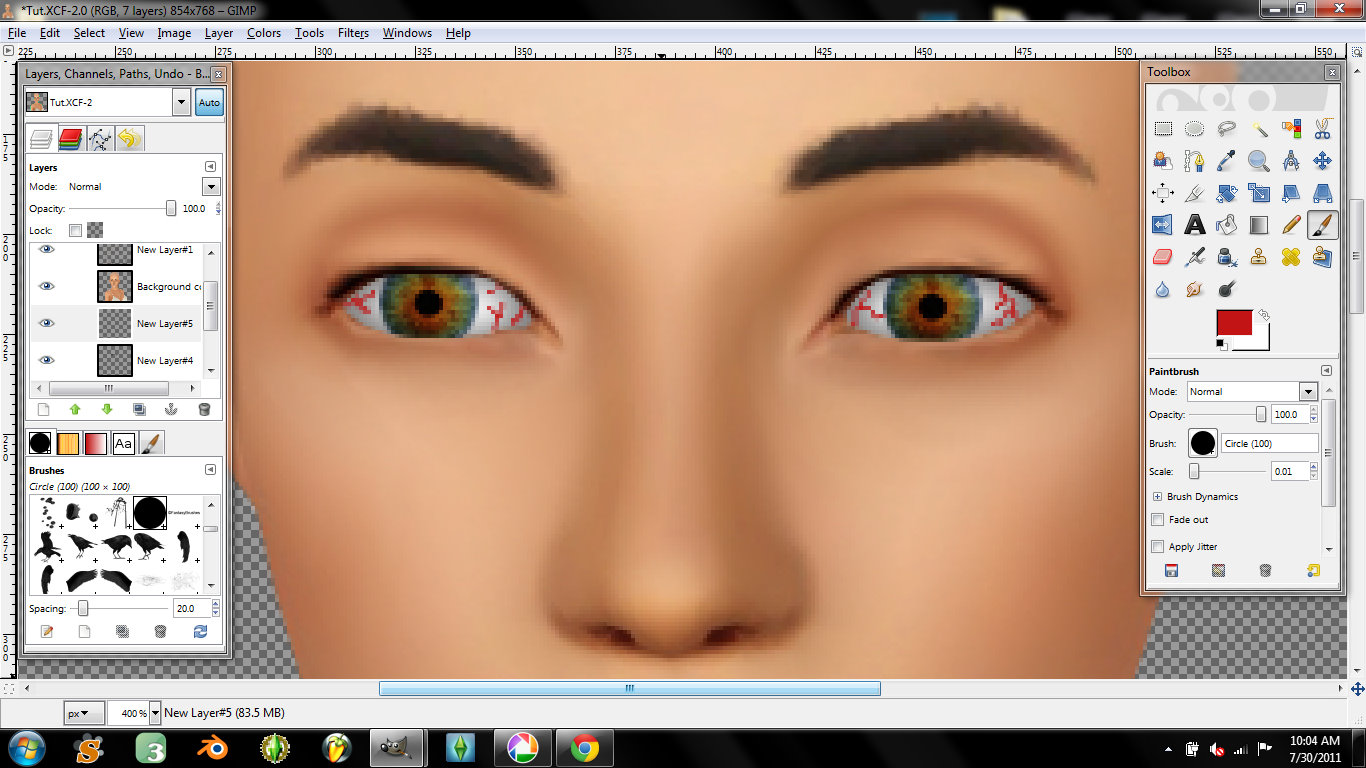
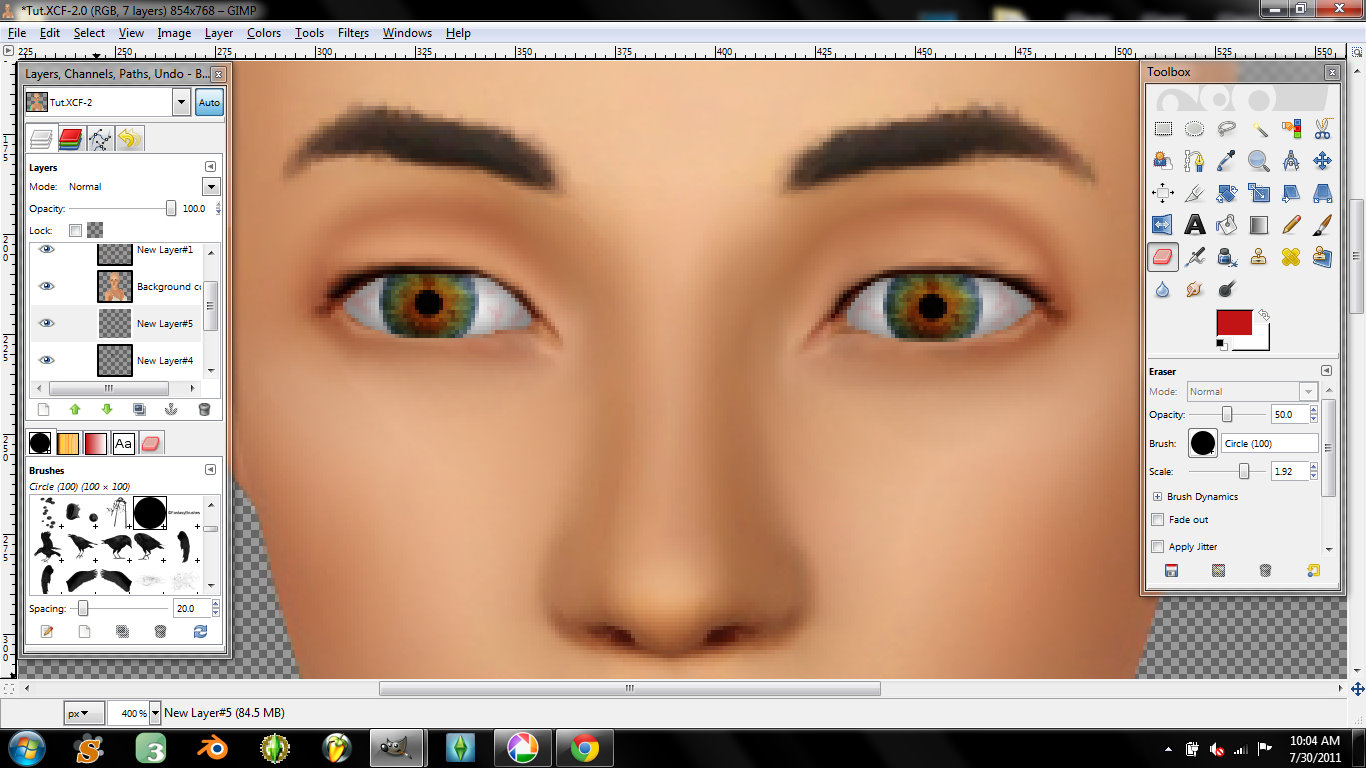
Open the gaussian blur, change it to 1.0 by 1.0 and apply. Now using your eraser tool at your desired opacity erase this layer until the lines in the eyes are faint:
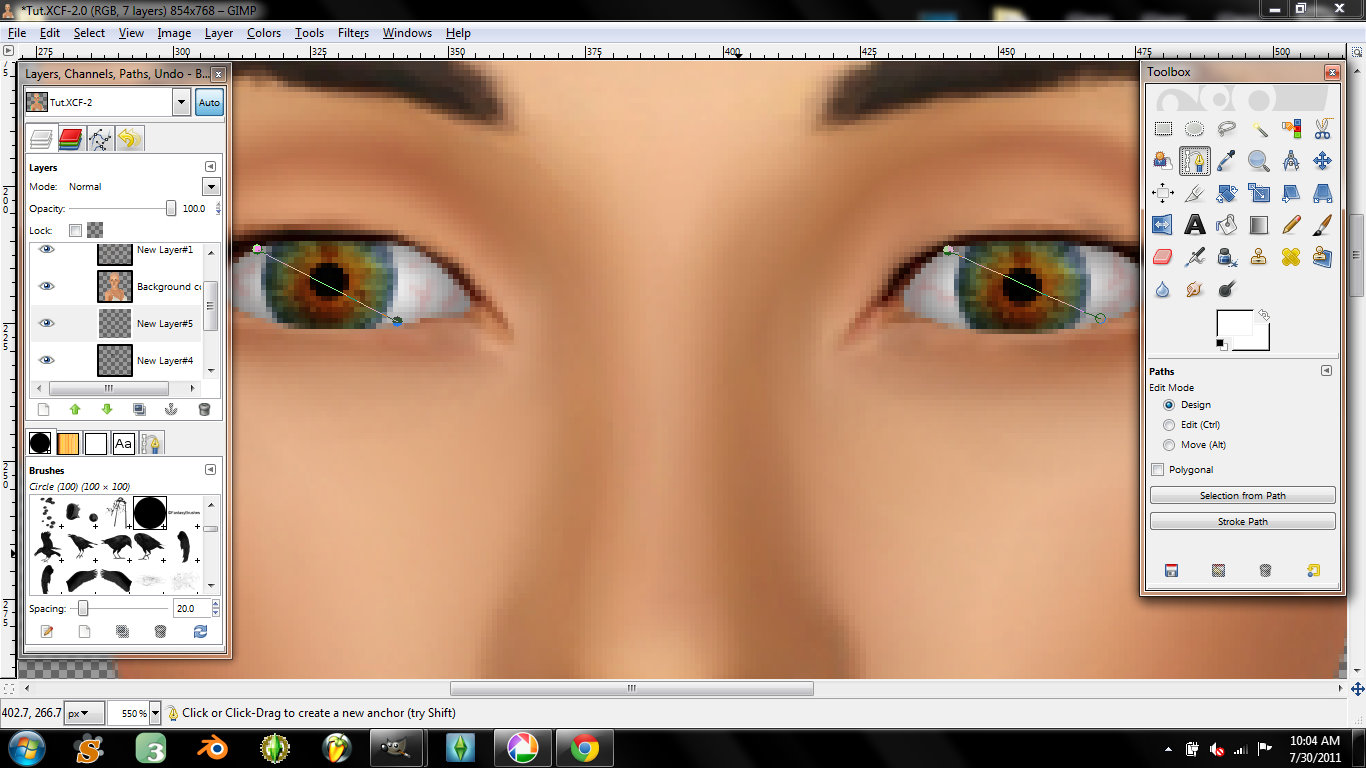
Now add yet another layer, this one needs to be placed right below your sim layer. Select the color white from your color pallet, using the pen tool draw two 1 diagonal line at 1.0 by 1.0 over each eye as seen below:

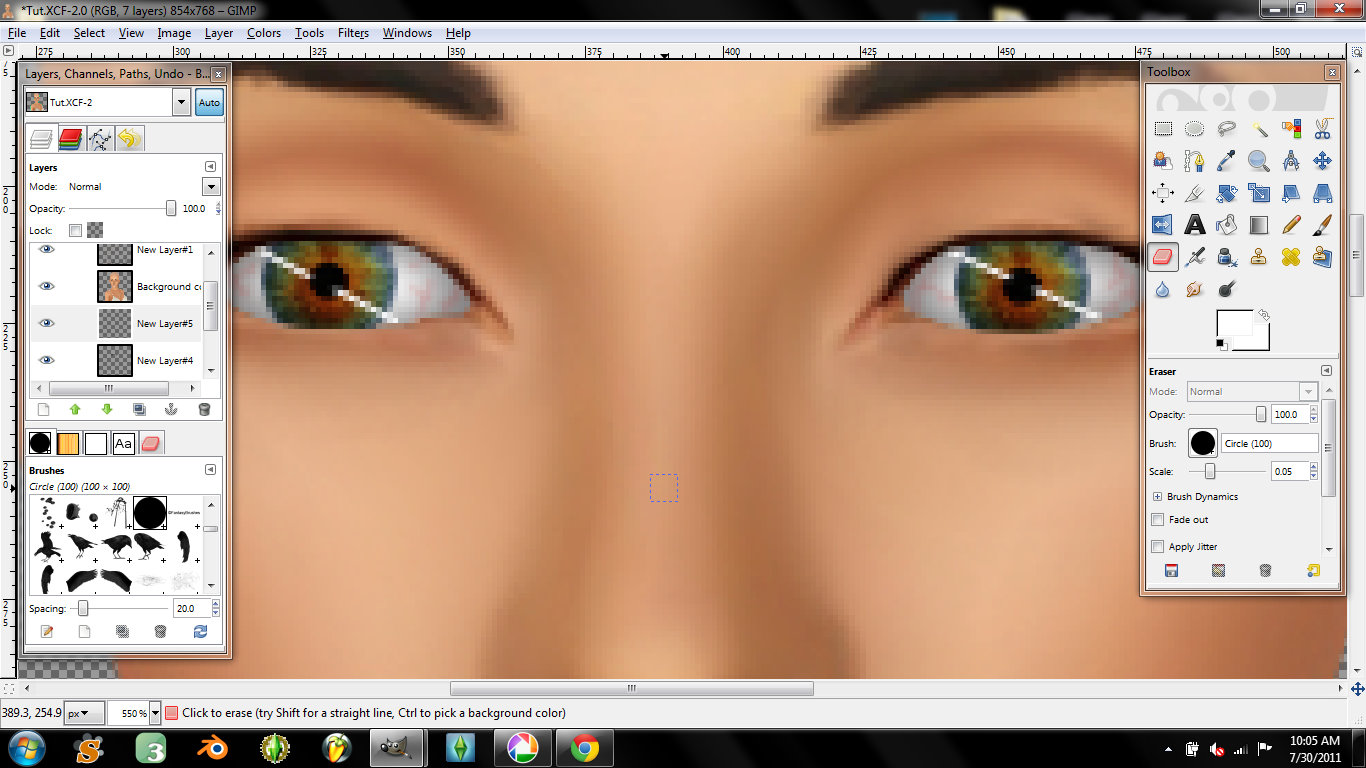
As seen above, erase at 100% opacity the center of each diagonal line, apply a gaussian blur of 1.0 by 1.0 and smudge the diagonal lines in the center and outside so they blend.
Merge all visible layers and you're done!
In the after pic, I have lightened the color of the eyes and added eye lashes using brushes I found on the web.
Here is my end result:
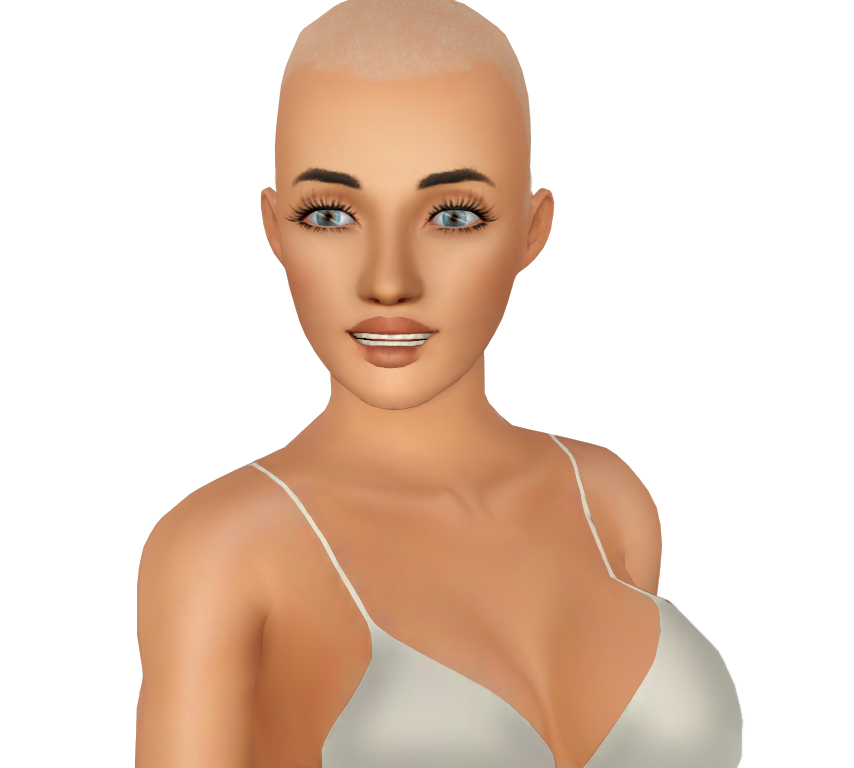
Incase you missed it, you can view my full size unedited pic here:
https://2img.net/h/i1200.photobucket.com/albums/bb331/EvieSims/Before.png


